How to Configure DNS on a VPS Server?
To ensure your VPS hosting server functions correctly and is accessible via a domain name, you need to configure DNS. DNS (Domain Name System) is a system that translates domain names into IP addresses and vice versa. This article will guide you through the process of properly configuring DNS on your VPS server.The first step in configuring DNS on a VPS server is installing a DNS server. Many different DNS servers exist, but BIND (Berkeley Internet Name Domain) is one of the most popular.
To install BIND on your server, execute the following commands:
sudo apt updatesudo apt install bind9
Once BIND is installed, you need to configure its configuration files. The main BIND configuration file is called named.conf. You can find it at /etc/bind/named.conf. This file specifies the main DNS server settings, such as zones and records.
To add a new zone in BIND, you need to edit the named.conf file as follows:
zone "example.com" {
    type master;
    file "/etc/bind/zones/example.com.db";
};
This example adds a new zone named example.com. Now you need to create the example.com.db file at the specified path and add the necessary DNS records.
After adding the necessary DNS records, restart the BIND server using the following command:
sudo systemctl restart bind9
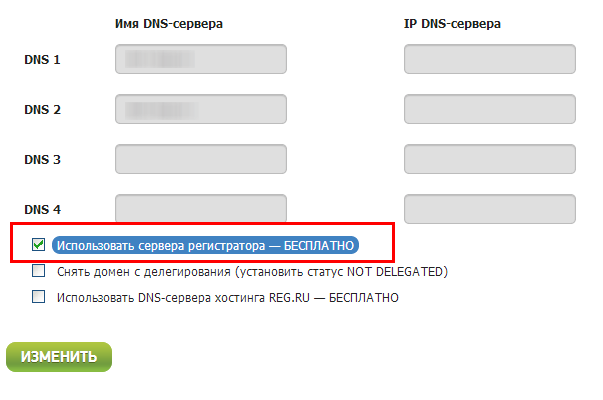
Your VPS server is now configured and ready to use with your domain name. Make sure you also configure the corresponding DNS records with your domain registrar.
We hope this article helped you understand the DNS configuration process on a VPS server. If you encounter any problems, feel free to contact specialists or discuss them on forums and blogs.


