Expanding Disk Space on a Windows VPS
If you work with Windows-based Virtual Private Servers (VPS hosting), you might need additional storage resources. Expanding disk space on a Windows VPS might be necessary for various reasons, such as storing large amounts of data, installing numerous programs, or simply running out of space.In this article, we’ll explore how to increase disk space on a Windows VPS and the steps involved.
Step 1: Removing Temporary Files and Cleaning Up Junk
Before starting the disk space expansion process, it’s recommended to analyze and delete temporary files, empty the Recycle Bin, and perform other cleanup tasks. This will free up hard disk space and simplify further actions.
You can use standard Windows tools, as well as third-party disk cleanup utilities, for this purpose.
Step 2: Using the Disk Management Utility
Next, to expand disk space on your Windows VPS, you need to use the Disk Management utility. This is a standard Windows tool that allows you to manage disks and their partitions.
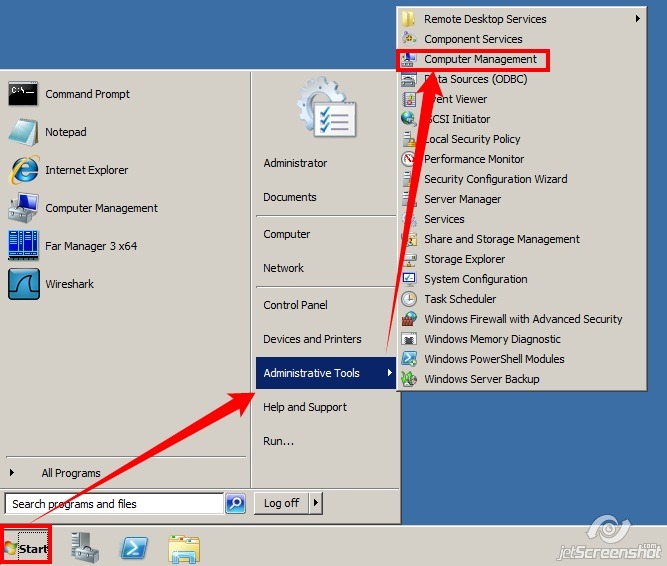
To open Disk Management, follow these steps:
Press Win + X.Select "Disk Management".
In the opened Disk Management window, locate the drive you want to expand and perform the corresponding actions.
Step 3: Increasing the Drive Size
To increase the drive size on your Windows VPS, you can use the «Extend Volume» function in the Disk Management utility. This function allows you to add new space to the selected partition without data loss.
You need to select the available space on the hard drive and specify the size by which you want to increase the drive. After that, you should perform a few additional actions to complete the process.
Conclusion
Therefore, expanding disk space on a Windows VPS is not as difficult as it might seem at first glance. By following the steps and recommendations described above, you can increase the disk space on your virtual server and continue working with data without problems.


