How to Increase RAM on a KVM VPS?
Virtual servers are an excellent solution for many tasks. They offer flexibility and scalability, but sometimes the need to increase the amount of Random Access Memory (RAM) may arise. If you have a KVM VPS hosting and you need to increase RAM, you will need to follow several steps. In this article, we will look at how to increase RAM on a KVM VPS.Step 1: Check Available Space
Before increasing RAM on your KVM VPS, make sure you have enough free space. You can do this by running the following command:
free -h
This command will show you the current RAM usage and available space.
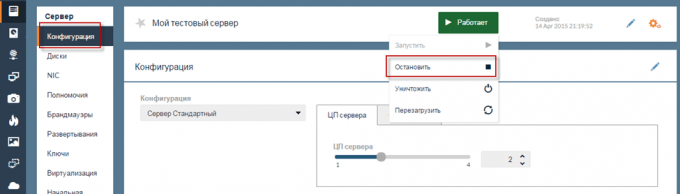
Step 2: Stop the VPS
To increase RAM on the KVM VPS, you will need to stop the virtual server. You can do this with the following command:
sudo shutdown -h now
Confirm the action and wait for the VPS to completely stop.
Step 3: Modify VPS Settings
Now that the VPS is stopped, you need to change its settings to increase the amount of RAM. Open the virtual machine configuration file using the command:
virsh edit [your_vps_name]
Find the lines responsible for the amount of RAM (usually <memory> and <currentMemory>) and increase their value in megabytes to the desired amount.
Save the changes and close the editor.
Step 4: Start the VPS
After you have changed the settings, start the virtual server with the command:
sudo virsh start [your_vps_name]
Your KVM VPS should now be running with an increased amount of RAM.
Conclusion
Increasing RAM on a KVM VPS can be a simple process if you follow the steps outlined above. Remember that increasing the amount of RAM can improve the performance of your virtual server and ensure it operates more efficiently.


