How to Use Duplicati for VPS Backups?
Backing up data on a VPS hosting server is a crucial task for any webmaster or administrator. In case of hardware failure or security threats, backups can be a lifesaver for your valuable data. This article will show you how to use the convenient Duplicati tool to create and manage backups on your virtual server.Step 1: Installing Duplicati
The first step is to install Duplicati on your VPS. To do this, execute the following commands:
sudo apt-get update
sudo apt-get install duplicati
After installation, start Duplicati from the command line, specifying the port for the web interface:
duplicati-server --webservice-port=8200
Step 2: Setting Up the Server Connection
Open your browser and enter the address http://your_server_ip:8200, where your_server_ip is your server’s servers with IP addresses. In the window that appears, enter the default login and password (admin/admin) and create a new profile.Step 3: Creating a Backup
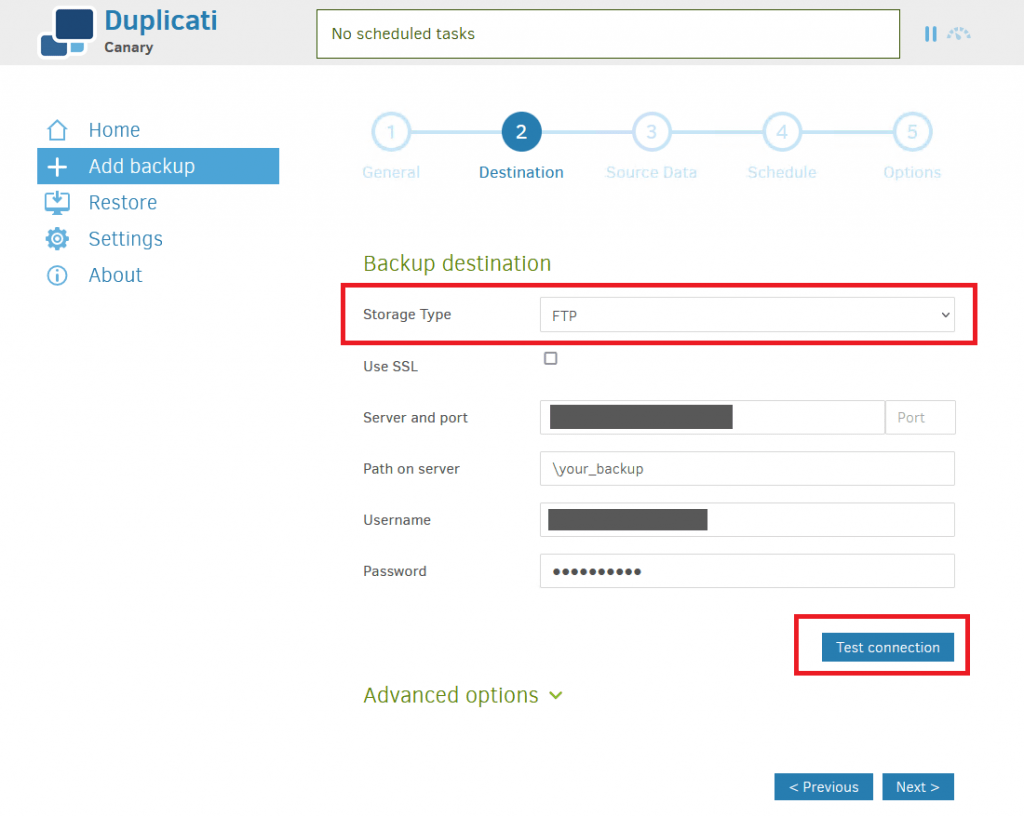
To create a new backup, click the «Create new backup» button. Specify the data source to back up and the storage location for the backup. You can choose local storage, cloud storage, or an FTP server.
Configure the backup schedule, specifying the frequency and time. Duplicati provides extensive options for scheduling tasks.
Step 4: Managing Backups
In the «Backup» section, you can manage your created backups: restore data, change backup settings, delete outdated copies, and much more. Duplicati has a user-friendly and intuitive interface that allows you to easily manage your backups.
By using Duplicati for backups on your VPS, you ensure the safety and security of your data. Remember to regularly check the backup operation and update your backup strategy in accordance with changes in your web project.


