How to Configure RAID on a Dedicated Server?
RAID (Redundant Array of Independent Disks) is a technology that allows you to combine multiple physical disks into a single logical group to improve performance and data reliability. This article will guide you through configuring RAID on a dedicated servers.Step 1: Checking Hardware Compatibility
Before configuring RAID on your server, ensure your hardware supports this technology. Check your server’s documentation or contact the manufacturer for detailed compatibility information.
Step 2: Accessing the Server’s BIOS
To configure RAID, you need to access your server’s BIOS. Reboot the server and press the designated key (usually DEL or F2) to enter the BIOS setup.
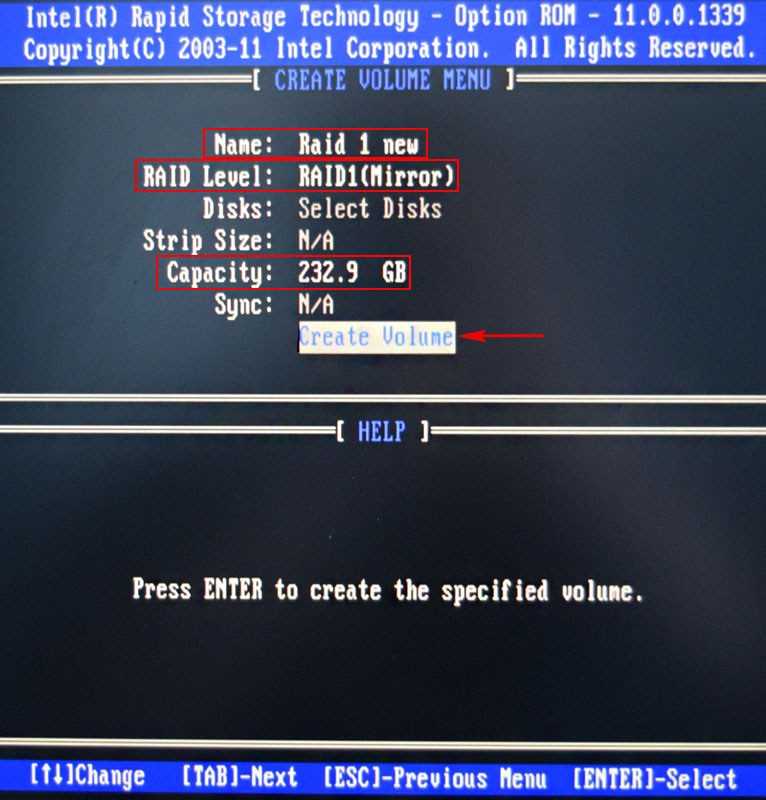
Step 3: Creating the RAID Array
Once in the BIOS, locate the section responsible for RAID configuration. There, you can create a new array, selecting the desired disks and setting the RAID level (e.g., RAID 0, RAID 1, RAID 5, etc.).
Step 4: Installing RAID Drivers
After creating the RAID array, you need to install the RAID drivers so the operating system can recognize the new array as a single disk. Download the necessary drivers from the server manufacturer’s website and install them.
Step 5: Installing the Operating System
After installing the RAID drivers, you can proceed with the operating system installation. During installation, select the new RAID array as the system installation location.
Step 6: Testing the RAID Array
After installing the operating system, it’s recommended to test the new RAID array’s functionality. Run a disk performance test or use specialized utilities to check data integrity.
Conclusion
Configuring RAID on a dedicated server is a crucial step in ensuring the security and reliability of your data. Follow the steps above to successfully set up RAID and enjoy its benefits. Good luck!


