Installing cPanel on a Dedicated Server
If you need to install cPanel on a dedicated servers, follow this Ubuntu VPS: A Step-by-Step Guide" class="internal-post-link">step-by-step guide for successful setup.Step 1: Server Preparation
The first step is to prepare your dedicated server for cPanel installation. Ensure your server meets the minimum requirements necessary for cPanel to function.
64-bit OS1 GB RAM20 GB free disk space
If your server meets these requirements, proceed to the next step.
Step 2: Downloading cPanel
Go to the official cPanel website and download the installation script to your server. The script version will depend on your system; ensure you download the appropriate version.
After downloading the script, go to your server’s terminal and run the installation using the command:
sh latest
Wait for the installation to complete, and then proceed to the next step.
Step 3: cPanel Configuration
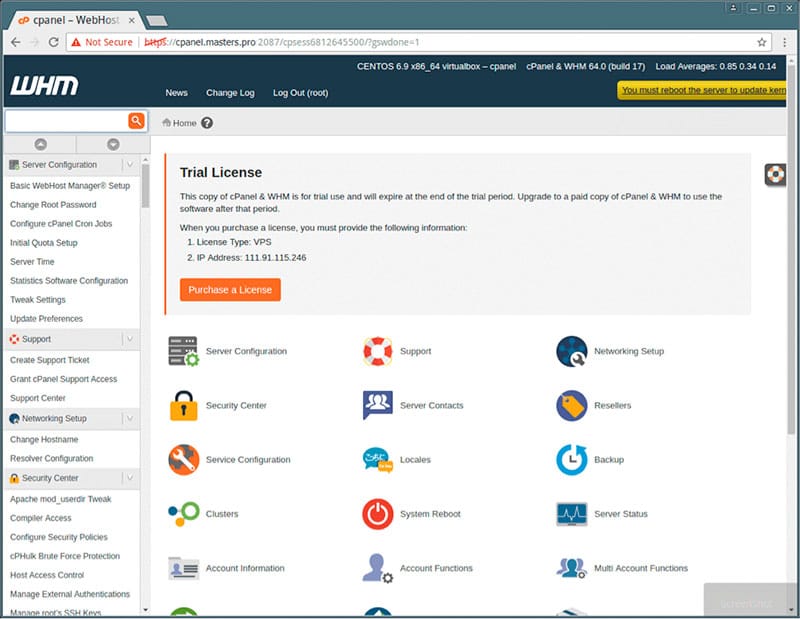
After successful cPanel installation, you need to configure it for your server. Go to your browser and enter your server’s servers with IP addresses, accessing the cPanel administrator page.Follow the on-screen instructions to complete the setup. After this, cPanel will be ready for use on your dedicated server.
Conclusion
Now you know how to install cPanel on a dedicated server. Follow this guide and enjoy the convenience of using cPanel on your server.
Good luck using cPanel!


