Configuring SNMP on a Dedicated Dell PowerEdge Server
SNMP (Simple Network Management Protocol) is a protocol used for monitoring and managing network devices. Configuring SNMP on your dedicated Dell PowerEdge server will help you monitor its status and react promptly to potential issues.
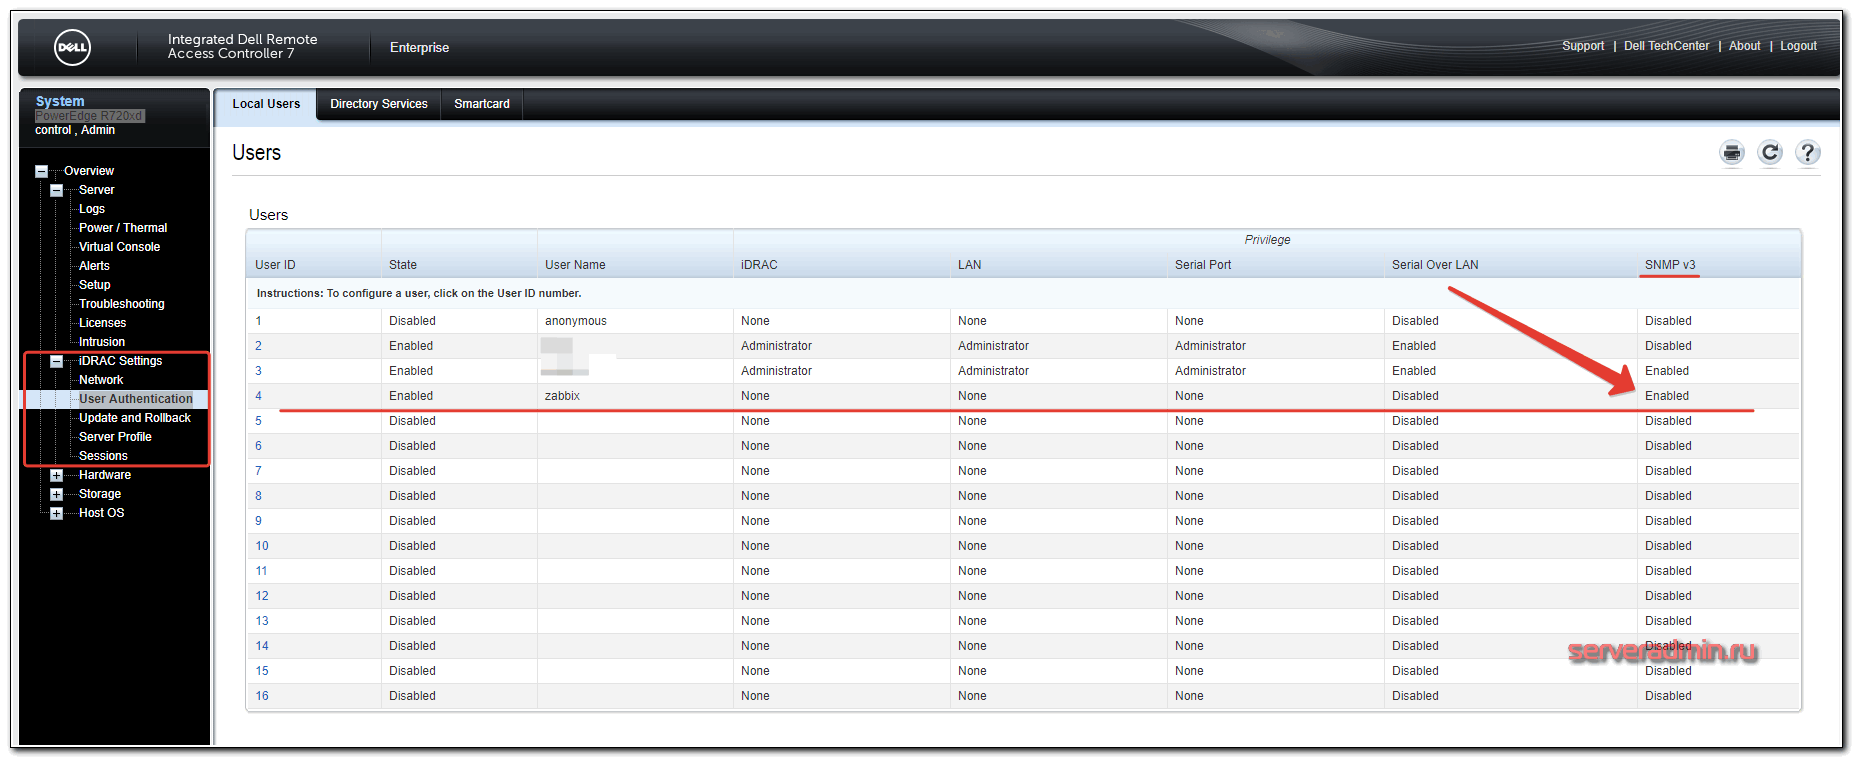
To begin configuring SNMP, you need to access the BMC (Baseboard Management Controller) through its web interface. Log in to the BMC using the server administrator’s login and password.
Next, navigate to the «Settings» section and select «SNMP». Here you can specify the SNMP protocol parameters, such as the community string and protocol version.
The community string is a password used to authenticate SNMP requests. It is recommended to use a strong password for security.
Choose the SNMP protocol version based on your system’s requirements. The most common versions are SNMPv1, SNMPv2, and SNMPv3. SNMPv3 is the most secure version and is recommended for use in critical systems.
- SNMPv1 – A simple version of the protocol without encryption;
- SNMPv2c – Adds capabilities for retrieving information, such as MIB (Management Information Base) tables;
- SNMPv3 – Provides encryption and authentication during data transmission.
After configuring the SNMP protocol parameters, save the changes and verify its functionality. You can use specialized network monitoring software, such as PRTG Network Monitor or Zabbix, for this purpose.
Therefore, configuring SNMP on your dedicated Dell PowerEdge server will help you manage the server and respond promptly to problems. Follow the configuration instructions and remember to ensure the security of your system.


