Setting up the ClamAV Antivirus on a VPS Server
ClamAV antivirus is an excellent solution for protecting your server from malware and viruses. Thanks to its free license and open-source nature, you can be confident in the reliable protection of your VPS hosting server.But before you start setting up ClamAV on your server, you should ensure that you have either CentOS or Debian operating system installed. You also need SSH access to your server.
Let’s begin setting up ClamAV on your VPS server.
Step 1: Installing ClamAV
The first step is installing the ClamAV antivirus on your server. Run the following command in your terminal:
sudo apt-get update
sudo apt-get install clamav
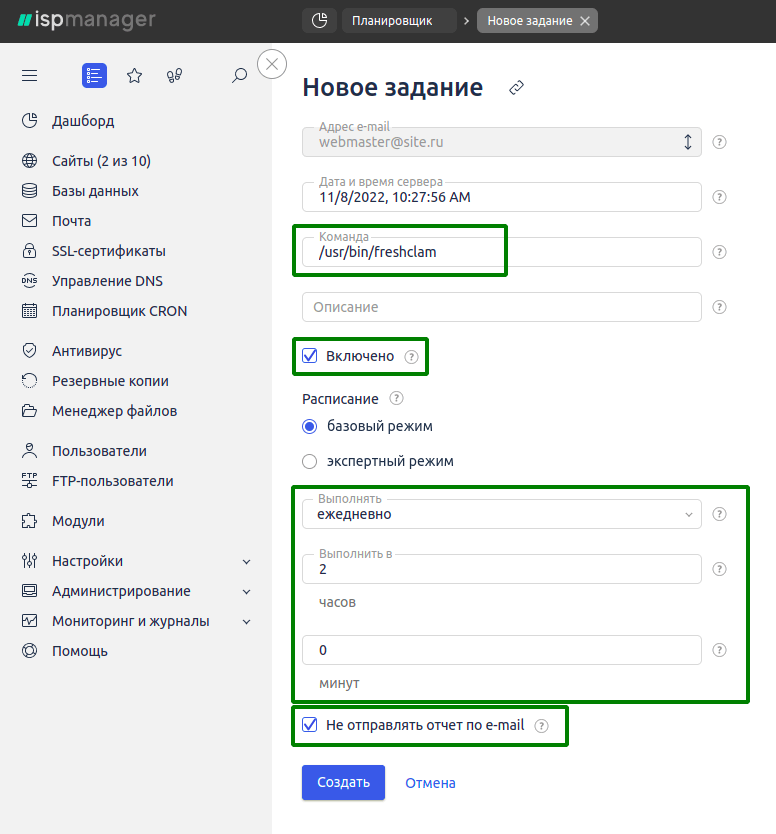
After installing ClamAV, you should update the virus database. Run the following command:
sudo freshclam
Step 2: Configuring ClamAV
After installation and database update, you need to configure ClamAV on your server. Create a configuration file by running the following command:
sudo nano /etc/clamav/clamd.conf
Edit the file according to your preferences. After making changes, save and close the file.
Now you need to restart the ClamAV service. Run the command:
sudo systemctl restart clamav-daemon
Step 3: Checking ClamAV Functionality
To make sure that ClamAV was successfully configured and is running on your server, run a test scan. To do this, execute the command:
clamscan --infected --remove --recursive /
After the scan completes, you will see a report of any viruses found and the actions taken by the antivirus.
Now your VPS server is protected by ClamAV antivirus. Remember to regularly update the virus database and run scans to ensure the security of your server.


