How to Set Up Time Machine on macOS Server?
Time Machine is an amazing backup tool that keeps your information safe on macOS. It automatically creates backups of all your files, allowing you to easily restore data if needed. In this article, we will walk through how to set up Time Machine on a macOS server to ensure your information is protected.
Step 1: Preparing to Use Time Machine
Before you start setting up Time Machine on your macOS server, make sure you have an external drive that will be used to store the backups. Connect the external drive to the server and ensure it is formatted as Mac OS Extended (Journaled).
Step 2: Enabling Time Machine on the Server
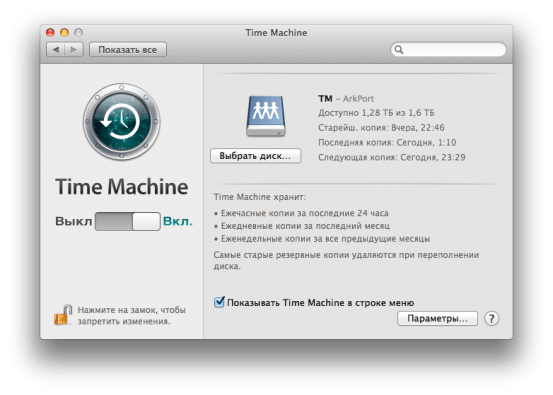
To enable Time Machine on your macOS server, open «System Preferences» and select «Time Machine». Click the «Select Backup Disk» button and choose your external drive for backups. Click the «Options» button and specify which files and folders you want to include in the backups.
Step 3: Setting the Backup Interval
Make sure you have a persistent connection to the server so that Time Machine can automatically create backups. In «Time Machine Preferences,» specify the interval at which you want to create backups (for example, every hour).
Step 4: Checking Backups
Periodically check your backups to make sure all your information is saved correctly. If there are any problems with the backups, Time Machine will offer to restore the data from the last working copy.
Conclusion
Time Machine is an excellent tool for backing up data on a macOS server. By following these steps, you can set up Time Machine on your server and ensure the security of your information. Remember that backups are an important part of data security, so don’t forget to regularly create and check your backups.