How to Set Up Windows Backup via PowerShell?
Backup is an important part of ensuring the security of your computer or server. One way to set up automatic backup in the Windows operating system is to use PowerShell. In this article, we will look at how to configure Windows backup via PowerShell.
Before you begin, make sure you have administrator privileges on your computer, as some PowerShell commands require administrator privileges.
Step 1: Installing the PowerShell Backup Module
The first step is to install the PowerShell backup module. To do this, run the following command in PowerShell:
Install-Module -Name Microsoft.PowerShell.Management
This command will install the PowerShell module that allows you to manage backups via PowerShell.
Step 2: Creating a Backup Plan
Next, you need to create a backup plan. To do this, execute the following command:
New-WBBackupPlan -BackupTarget "D:\Backup"
In this case, we are creating a backup plan that will save backups to the D:\Backup drive. You can specify any other path that is convenient for you.
Step 3: Configuring the Backup Schedule
Now you need to configure the backup schedule. To do this, execute the following command:
New-WBBackupSchedule -Schedule Daily -Times 21:00
This command will set up backups on a daily basis at 21:00. You can specify any other schedule that suits your needs.
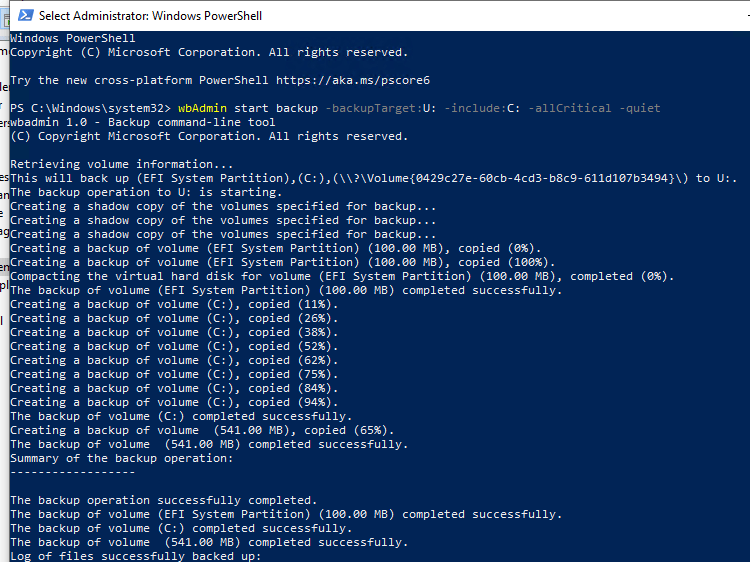
Step 4: Starting the Backup Process
The last step is to start the backup process. To do this, execute the following command:
Start-WBBackup
This command will start the backup process according to the configured schedule. Now your backup will be performed automatically at the specified time.
Thus, you have configured Windows backup via PowerShell. Remember that backup is an important part of maintaining the security of your data. By following these steps, you will ensure the safety of your information in the event of unexpected failures.