How to Enable HTTPS Mode in Your Browser
HTTPS is an encryption protocol that provides a secure connection between your browser and a website. Using HTTPS helps protect your personal data from cyber threats and ensures the privacy of your online transactions. Enabling HTTPS mode in your browser is important to ensure the security of your online presence. In this article, we’ll show you how to enable HTTPS mode in various popular browsers.
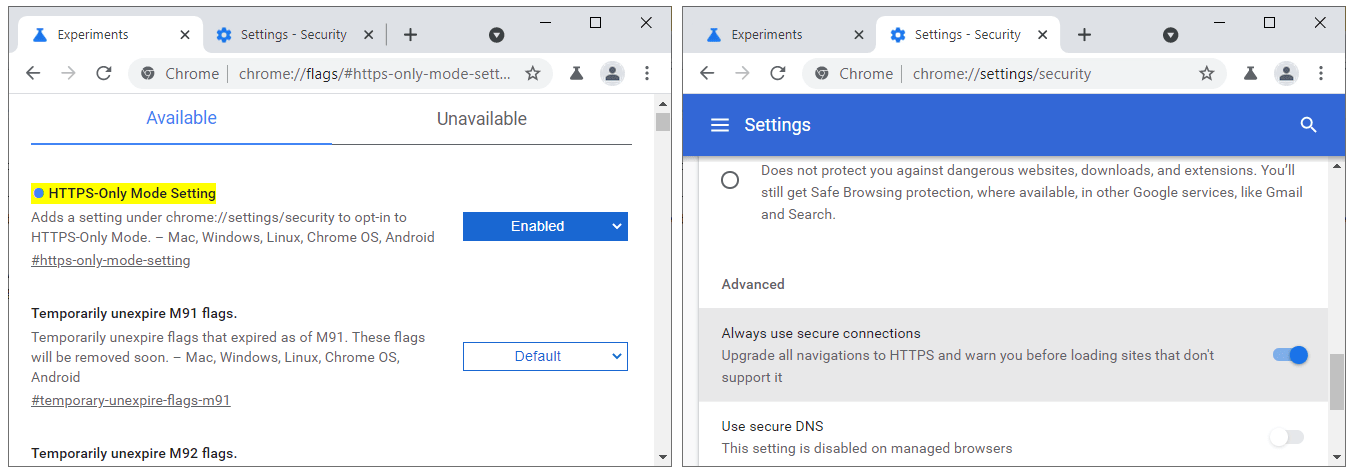
Google Chrome
To enable HTTPS mode in Google Chrome, follow these steps:
Open the Google Chrome browser.Click on the "Three Dots" icon in the upper right corner of the window.Select "Settings".Scroll down the page and click on "Advanced".Find the "Security" section and make sure the "Use secure DNS" or "Always use secure connections" option is enabled.
Mozilla Firefox
To enable HTTPS mode in Mozilla Firefox, follow these steps:
Launch the Mozilla Firefox browser.Click on the "Hamburger" icon in the upper right corner.Select "Settings".On the settings page, go to the "Privacy & Security" tab.Select "Enable HTTPS-Only Mode" and choose either "Enabled" or "Enabled in all windows."
Microsoft Edge
Enabling HTTPS mode in Microsoft Edge is slightly different:
Open the Microsoft Edge browser.Click on the "Three Dots" icon in the upper right corner of the window.Go to "Settings".Select "Privacy, search, and services".Scroll down to the "Security" section.Enable the "Always use secure connections" option.
Now you know how to enable HTTPS mode in various browsers. Remember that the security of your online activity is important, so keep an eye on the latest security settings in your browser. A secure connection is the key to protecting your privacy and security in the online world.