How to Install Netdata for Server Monitoring?
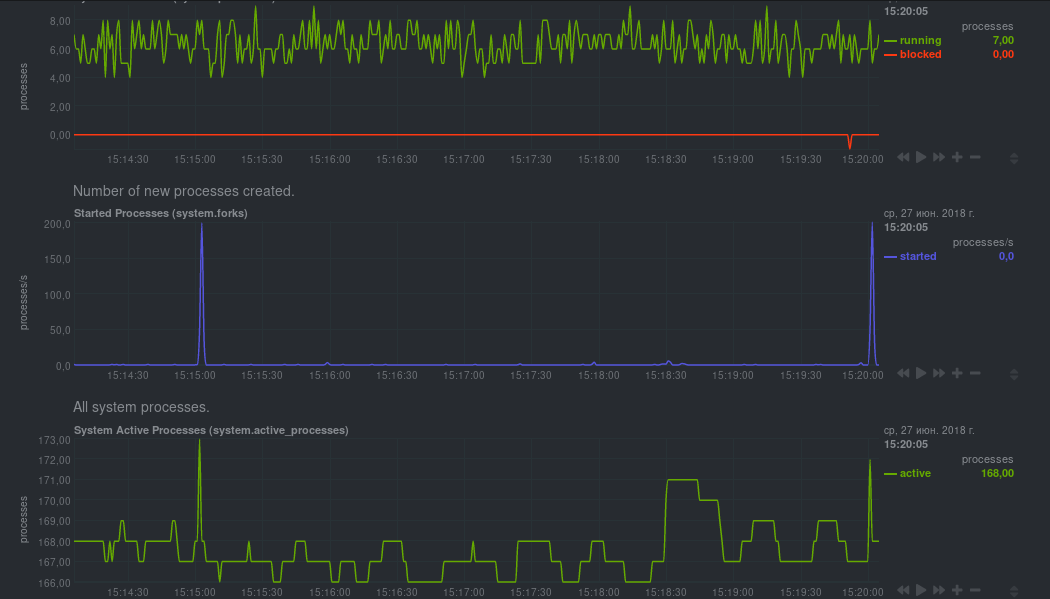
Netdata is an excellent solution for real-time server monitoring. It provides useful information about server performance, network, disks, and much more. Installing Netdata is quite simple and will only take a few minutes. In this article, we will look at how to install Netdata on your server.
Step 1: Installing Dependencies
Before installing Netdata, install the necessary dependencies on your server. Run the following command in the terminal:
sudo apt-get update
sudo apt-get install zlib1g-dev uuid-dev libmnl-dev gcc make git autoconf autoconf-archive autogen automake pkg-config curl
Step 2: Installing Netdata
After installing the dependencies, you can proceed to install Netdata. Run the following commands in the terminal:
git clone https://github.com/netdata/netdata.git --depth=100
cd netdata
sudo ./netdata-installer.sh
After the installation is complete, Netdata will start automatically and will be available at http://your_server_ip:19999
Step 3: Configuring Netdata
By default, Netdata works with default settings, but you can customize it to your needs. To do this, edit the Netdata configuration file in the etc/netdata directory:
sudo nano /etc/netdata/netdata.conf
After making changes, restart the Netdata service:
sudo systemctl restart netdata
Conclusion
Now you have Netdata installed and configured to monitor your server. You can monitor server performance in real time and take the necessary measures if needed. Good luck!


