How to Configure AutoPost for Facebook Groups?
In today’s digital landscape, social media plays a crucial role in promoting brands, products, and services. Facebook is one of the most popular platforms. Using specialized tools for automated content publishing in groups simplifies workflow and helps maintain control over your social media activities. This article will guide you through configuring AutoPost for Facebook groups.
Step 1: Registering with the AutoPost Service
The first step is to register with an automated posting service. You can find various programs offering such capabilities. It’s recommended to choose reputable and reliable resources.
After registering on the website, you will need to connect your Facebook account and configure the publishing parameters.
Step 2: Creating a Post for Publication
For successful AutoPost configuration, create the post you want to publish to the group. It’s recommended to use engaging and informative content to capture your audience’s attention.
Remember, high-quality content contributes to increased user engagement and improves your group’s ranking.
Step 3: Configuring Publication in AutoPost
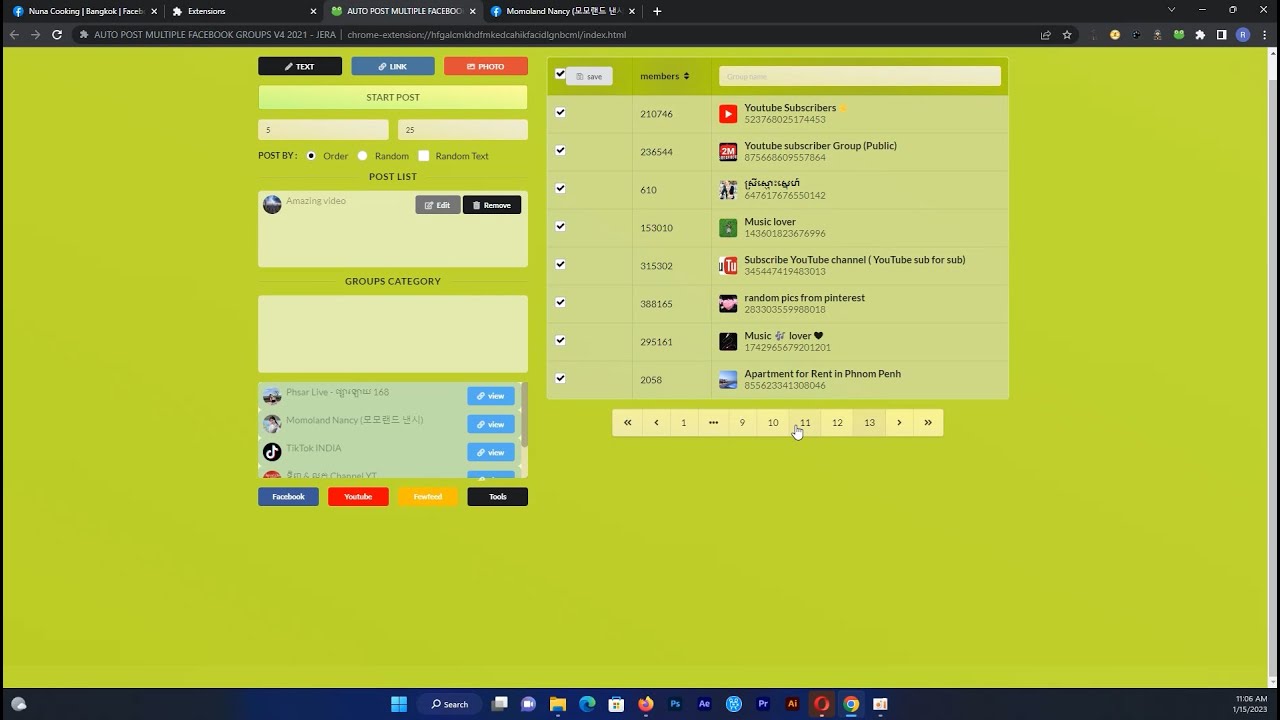
After creating the post, configure its automated publishing parameters. AutoPost services typically allow you to select the desired time and date for publication, as well as specify the groups where you want to publish the post.
You can also configure posting frequency and other additional options provided by your chosen service.
Step 4: Checking Settings and Launching AutoPost
Before launching automated publishing, it’s recommended to check all settings and ensure posts will be published to the correct groups at the correct times.
After verification, you can launch AutoPost and begin automated posting to your selected groups.
AutoPost significantly simplifies the process of publishing content on social media and saves time on routine tasks.
You can download the AutoPost software here.


