Installing phpMyAdmin on an Ubuntu 16.04 VPS Server
phpMyAdmin is a convenient graphical user interface for managing MySQL databases. With it, you can easily create databases, tables, execute SQL queries, and much more. This article will guide you through installing phpMyAdmin on a VPS server running Ubuntu 16.04.
Step 1: Updating Packages
Before installing phpMyAdmin, you should update your system packages. Execute the following commands:
sudo apt-get update
sudo apt-get upgrade
After updating the packages, reboot your server for the changes to take effect.
Step 2: Installing phpMyAdmin
To install phpMyAdmin, follow these steps:
sudo apt-get install phpmyadmin
During the phpMyAdmin installation, you will be prompted to select the web server you are using (Apache, Nginx). Afterward, you will need to create a symbolic link to the phpMyAdmin configuration file in your web server’s configuration directory.
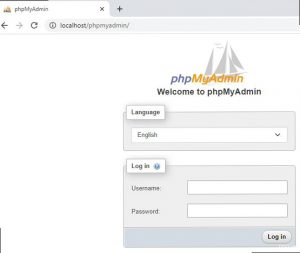
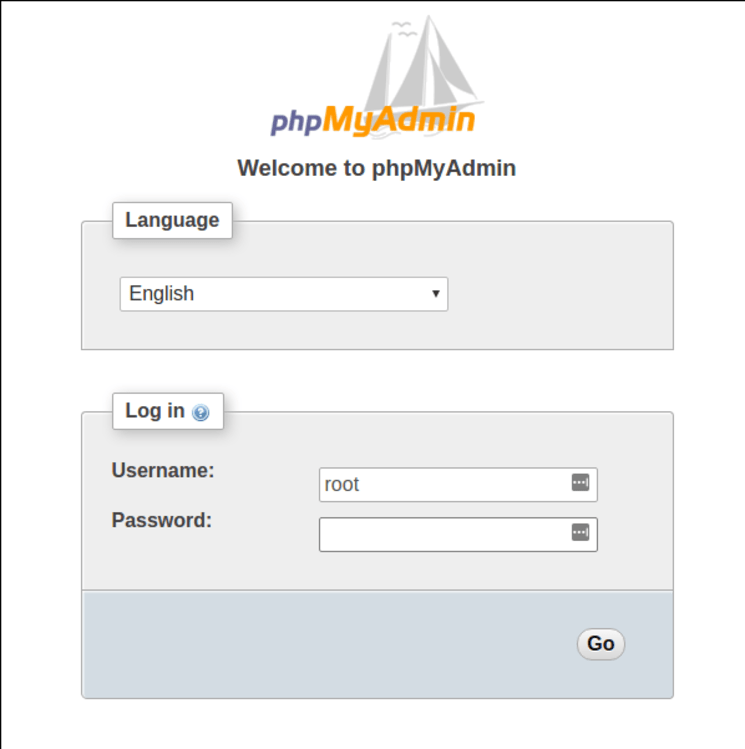
Step 3: Configuring phpMyAdmin
After installing phpMyAdmin, you can proceed to configure it. Open your browser and enter your server’s address followed by /phpmyadmin. Enter the MySQL username and password you used during the installation.
You now have access to phpMyAdmin and can manage your MySQL databases using its user-friendly interface.
Conclusion
Installing phpMyAdmin on an Ubuntu 16.04 VPS server is a simple way to manage MySQL databases. Follow these instructions, and you’ll be able to set up phpMyAdmin and start working with your databases in no time.