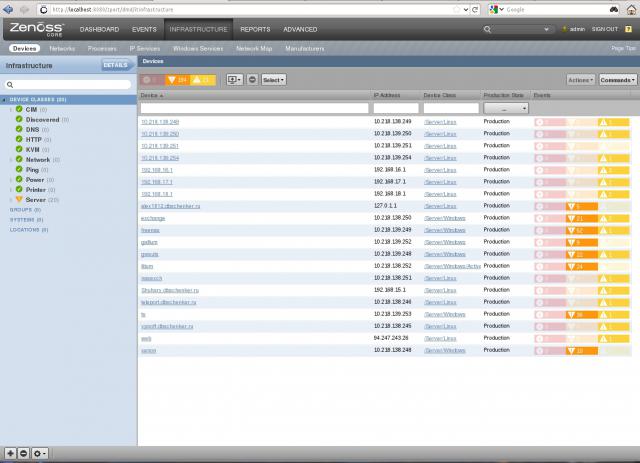
Setting up Zenoss Monitoring on a VPS Server
Server monitoring is a crucial task for any administrator. Specialized tools allow you to track system status, performance, and other key metrics. Zenoss is one such tool, capable of monitoring both cloud and physical servers. This article will guide you through setting up Zenoss monitoring on a VPS server.
Step 1: Installing Zenoss on the VPS Server
First, you need to install Zenoss on your VPS server. Use the following commands:
wget https://github.com/zenoss/core-autodeploy/archive/4.2.5.zip
unzip 4.2.5.zip
cd core-autodeploy-4.2.5
./core-autodeploy.sh
After executing these commands, Zenoss will be installed on your server.
Step 2: Configuring Zenoss
After installation, you need to configure Zenoss. Open the Zenoss web interface in your browser, enter the default login and password (admin/admin), and follow the setup instructions.
Configure monitoring for the resources you need, add the servers you want to monitor, set up alerts, and adjust other parameters.
Step 3: Connecting Servers to Zenoss
To begin monitoring servers, you need to connect them to Zenoss. Install the Zenoss agent on the servers you wish to monitor. For Linux servers, you can do this using the following commands:
wget https://github.com/zenoss/core-autodeploy/archive/4.2.5.zip
unzip 4.2.5.zip
cd core-autodeploy-4.2.5
./zenoss-agent.sh
Configure the agent to send server data to Zenoss.
Conclusion
Setting up Zenoss monitoring on a VPS server is a crucial step in ensuring the stable operation of your infrastructure. By following the steps above, you can configure Zenoss and monitor your server for quick responses to potential problems.
Remember to regularly check the monitoring status and update your settings to reflect changes in your infrastructure.


