Installing and Configuring Munin for Server Monitoring
Server monitoring is a crucial aspect of ensuring the reliable operation of your web project. Munin is one of the most popular tools for this purpose. This article will guide you through the installation and configuration of Munin for monitoring your server.
Before you begin installing Munin, make sure your server meets the following system requirements:
- A Linux distribution (e.g., Ubuntu, Debian, CentOS)
- Internet access to download packages
- Root/Administrator access
Let’s proceed with the Munin installation. Execute the following commands:
sudo apt update
sudo apt install munin munin-node
After installing the Munin and Munin Node packages, you need to configure them. Edit the configuration file /etc/munin/munin.conf and add the following lines:
dbdir /var/lib/munin
htmldir /var/www/html/munin
logdir /var/log/munin
rundir /var/run/munin
After configuring Munin, restart the service using the command:
sudo service munin-node restart
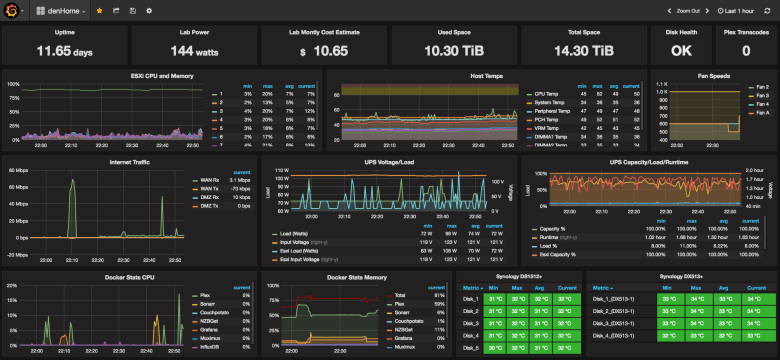
Now you can open your web browser and navigate to http://your_server_ip/munin to view server monitoring graphs and statistics.
In conclusion, Munin is an excellent tool for server monitoring, and its installation and configuration are quick and straightforward. Use Munin to track your server’s performance and prevent potential problems!


