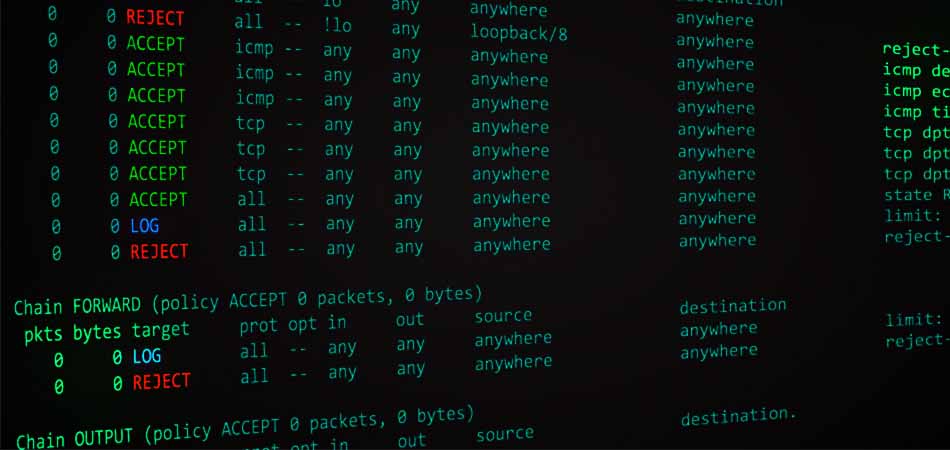
How to Configure IPTABLES on a VPS?
Configuring server protection using iptables is a crucial step in securing your Virtual Private Server (VPS). IPTABLES is a powerful tool for managing network traffic, filtering data packets, and preventing unauthorized access to your server. This article will guide you through the proper configuration of iptables on your VPS.
Step 1: Installing iptables
The first step is installing iptables on your server. Execute the following command:
sudo apt-get install iptables
After installing iptables, you need to configure traffic filtering rules.
Step 2: Configuring iptables Rules
To begin configuring iptables, create a new file containing iptables rules using the following command:
sudo touch /etc/iptables.rules
Open the file and add the necessary traffic filtering rules. For example, if you want to allow access to port 22 (SSH), add the following rule:
iptables -A INPUT -p tcp --dport 22 -j ACCEPT
After adding all the necessary rules, save the file and activate them using the following command:
sudo iptables-restore < /etc/iptables.rules
Step 3: Saving iptables Rules
To save your iptables settings after a server reboot, execute the following command:
sudo iptables-save > /etc/iptables.rules
Now, the iptables rules will be automatically restored upon server reboot.
Conclusion
Configuring iptables on your VPS will enhance your server's security and protect your network traffic. Follow the steps above to properly configure iptables and enjoy a more secure server.


