Installing Joomla on a CentOS VPS
If you’ve decided to create your own website and have chosen the Joomla platform, you need to install the CMS on your virtual private server (VPS) running CentOS. This article will guide you through the process of installing Joomla on a CentOS VPS step-by-step.
Step 1: Server Preparation
Before you begin installing Joomla on your VPS, ensure your server is properly configured. Install the LAMP (Linux, Apache, MySQL, PHP) stack on your CentOS server. Execute the following commands to install the necessary packages:
sudo yum install httpdsudo yum install mariadb-server mariadbsudo yum install php php-mysql php-gd php-xml php-mbstring php-mcrypt
After installing all packages, start Apache, MariaDB, and enable them to start automatically on boot:
sudo systemctl start httpdsudo systemctl enable httpdsudo systemctl start mariadbsudo systemctl enable mariadb
Step 2: Creating a Database for Joomla
After installing the LAMP stack, you need to create a MySQL database and user for Joomla. Execute the following commands:
mysql -u root -pCREATE DATABASE joomla_db;CREATE USER 'joomla_user'@'localhost' IDENTIFIED BY 'password';GRANT ALL PRIVILEGES ON joomla_db.* TO 'joomla_user'@'localhost';FLUSH PRIVILEGES;EXIT;
Step 3: Installing Joomla
Now, go to the official Joomla website and download the latest version of the CMS. Upload Joomla to your server via SSH or FTP and extract the archive to the /var/www/html directory.
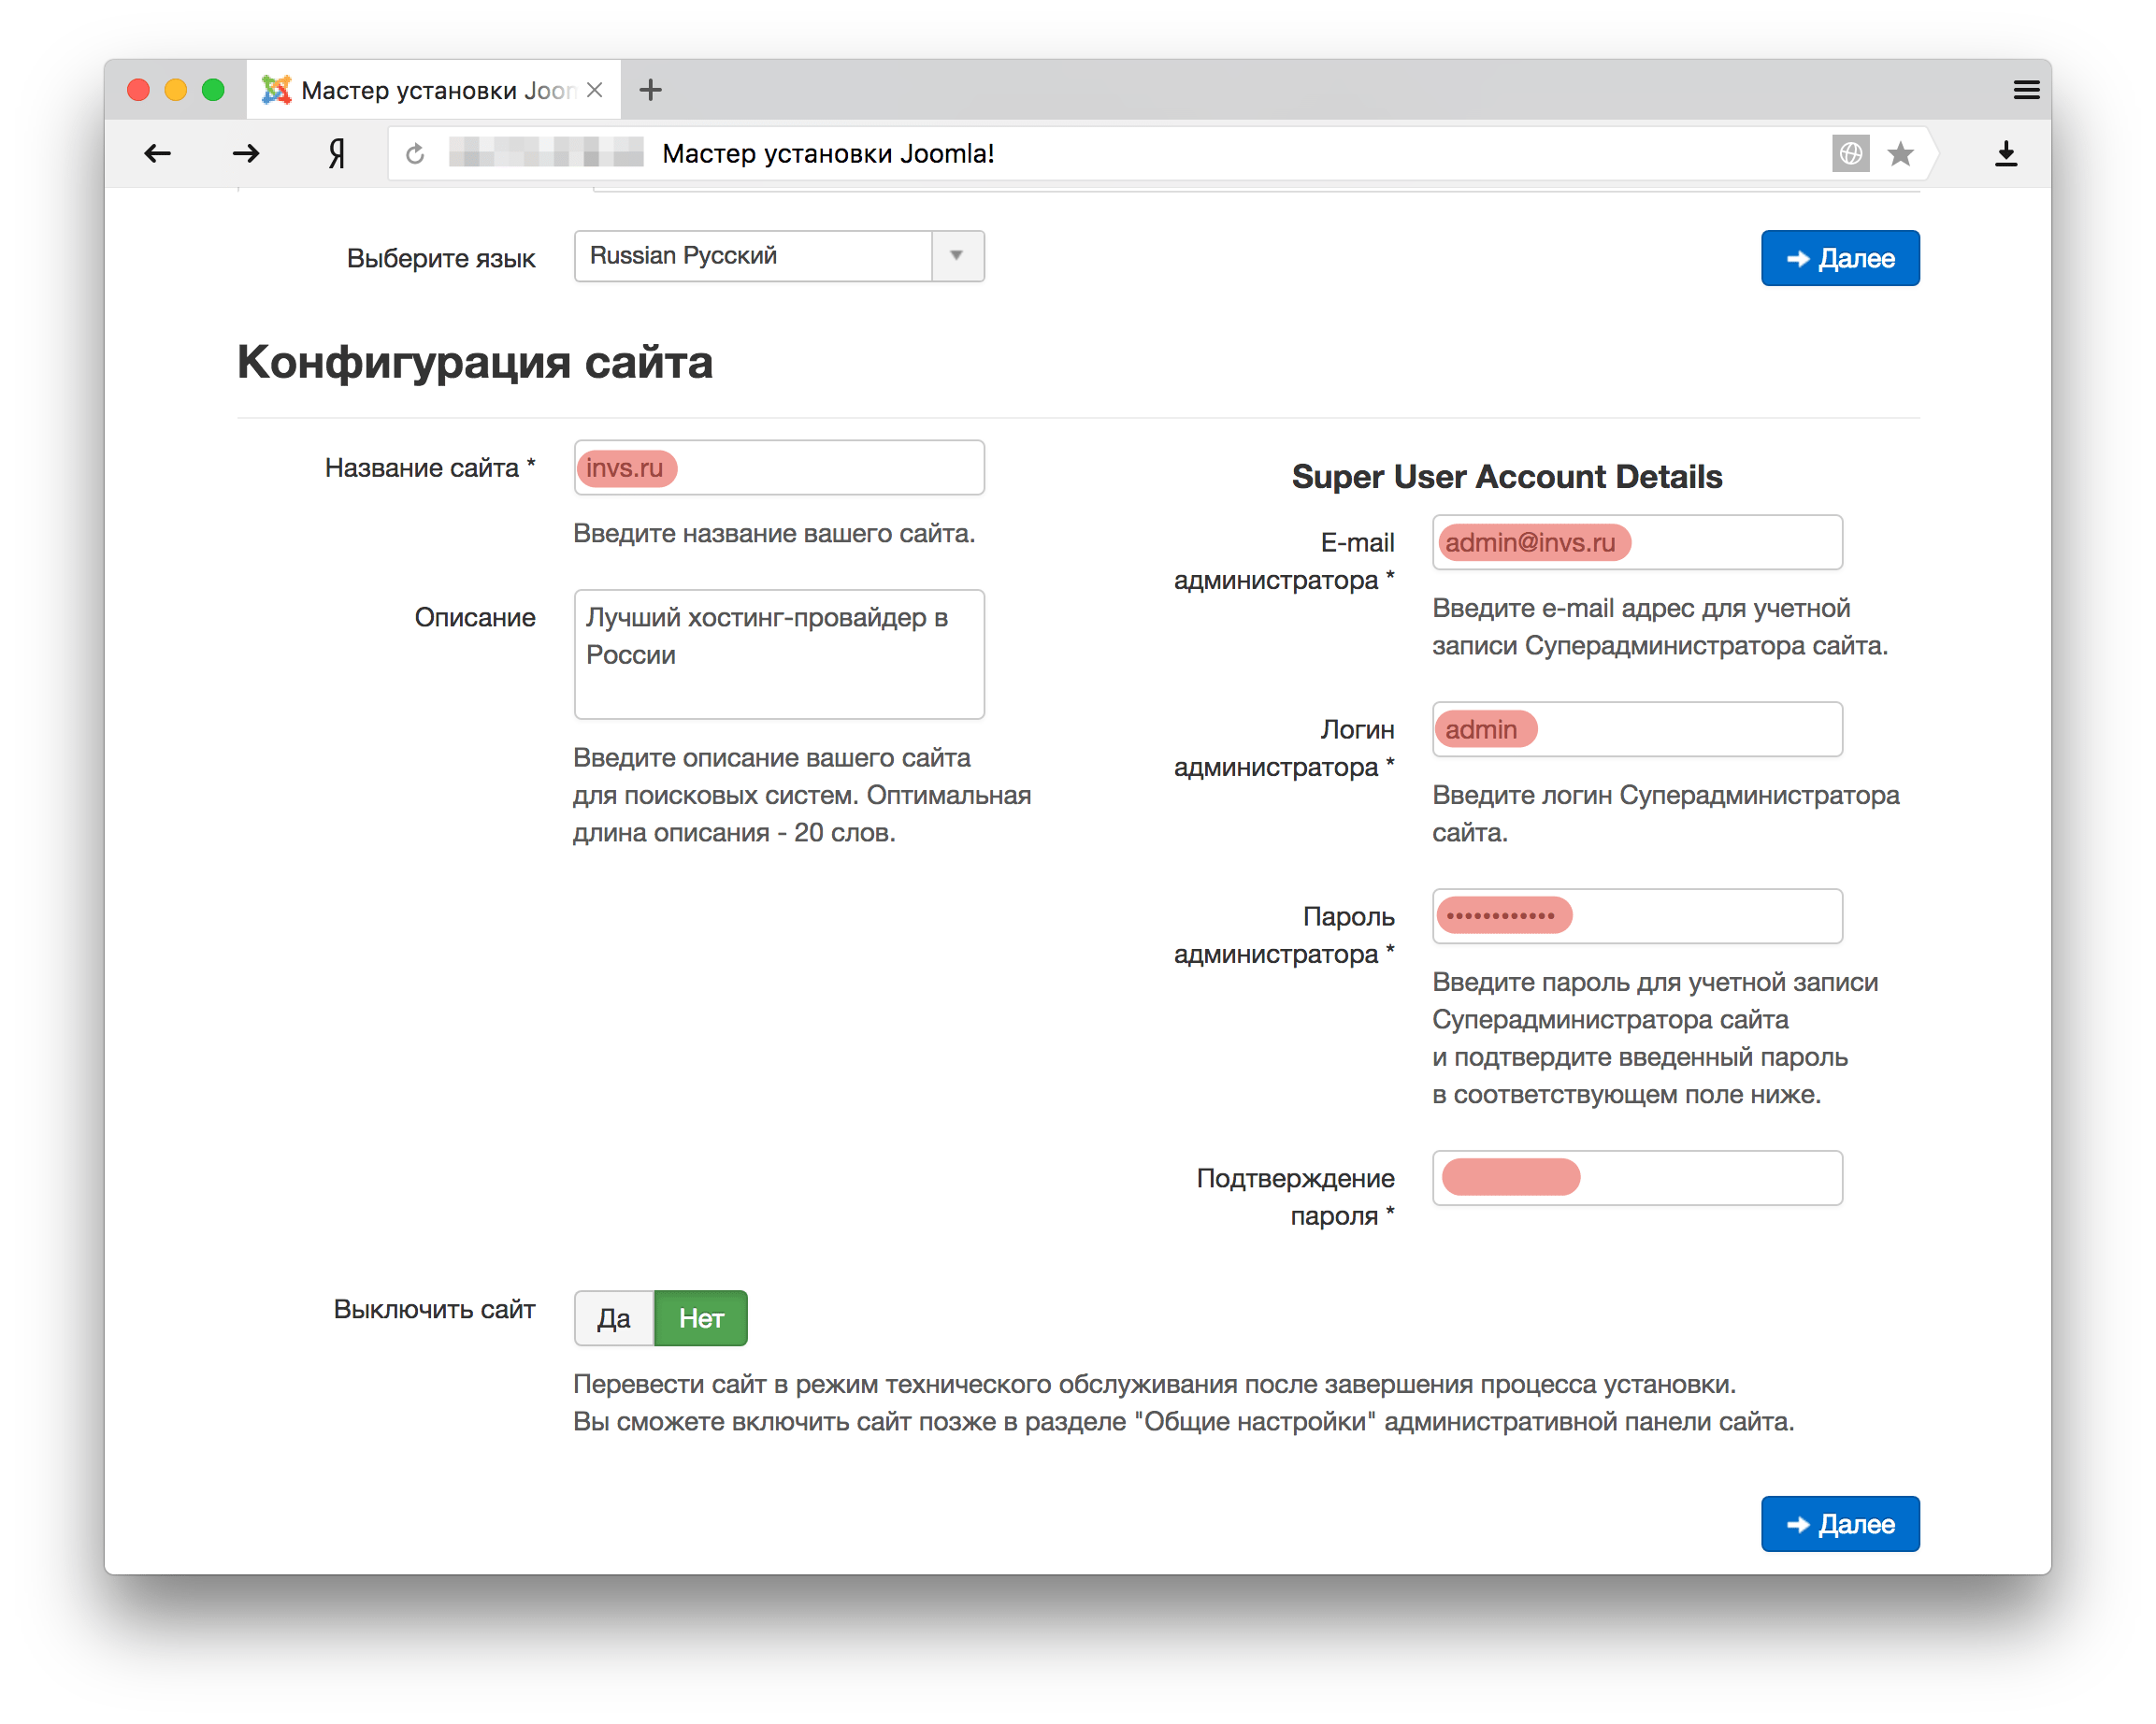
Open your browser and enter your server’s address. Follow the Joomla installer instructions, providing the database connection details created in the previous step.
Congratulations, Joomla is successfully installed on your CentOS VPS! You can now start creating your website on this platform.