How to Manage a VPS via the Command Line?
Hey colleagues! I think each of us who has ever dealt with VPS hosting administration knows that the command line is our best friend, and sometimes our worst enemy. But fear not! In this article, we'll break down the main points of VPS management via the console, so that even the most novice Linux user feels confident. I'll share my experience, the mistakes I've made, and, of course, show you the most useful commands and techniques. We'll install software, configure services, monitor the system – in short, we'll do everything to make your VPS run like clockwork. This setup will be *fire*! Let's go!Contents:
- SSH Connection Basics for VPS
- Package Management and Software Installation
- Configuring and Managing Core Services
- Monitoring VPS Resources
- File and Permissions Management
- Troubleshooting Common Issues and Debugging
SSH Connection Basics for VPS

ssh user@192.168.1.100ssh -p 2222 user@192.168.1.100ssh -i ~/.ssh/id_rsa user@192.168.1.100Setting up SSH Keys (for the Paranoid)
I'll be straight with you, setting up SSH keys is a bit of a hassle, but it's worth it. First, you need to generate a key pair (public and private) on your local computer:ssh-keygen -t rsa -b 4096ssh-copy-id -i ~/.ssh/id_rsa.pub user@192.168.1.100cat ~/.ssh/id_rsa.pub | ssh user@192.168.1.100 "mkdir -p ~/.ssh && cat >> ~/.ssh/authorized_keys"sudo nano /etc/ssh/sshd_configsudo systemctl restart sshd| Authentication Method | Security | Convenience |
|---|---|---|
| Password | Low | High |
| SSH Key | High | Medium (requires setup) |
Security is always excessive until it's not enough.
Rob Joyce, NSA
Package Management and Software Installation

sudo apt updatesudo apt upgradesudo apt upgrade nginxsudo apt install nginxsudo apt remove nginxsudo apt purge nginxWorking with Repositories (When Standard Ones Aren't Enough)
Sometimes, you might need to install a package that isn't in the standard repositories. In this case, you need to add a new repository. To do this, you either add its address to the `/etc/apt/sources.list` file or create a separate file in the `/etc/apt/sources.list.d/` directory. For example, to add the Node.js repository, you can create a file `/etc/apt/sources.list.d/nodesource.list` with the following content:deb https://deb.nodesource.com/node_16.x focal main
deb-src https://deb.nodesource.com/node_16.x focal mainsudo apt update
curl -s https://deb.nodesource.com/gpgkey/nodesource.gpg.key | sudo apt-key add -sudo apt install nodejs| Command | Description |
|---|---|
sudo apt update | Updates the package list |
sudo apt upgrade | Upgrades installed packages |
sudo apt install <package> | Installs a package |
sudo apt remove <package> | Removes a package |
sudo apt purge <package> | Removes a package and its configuration files |
Software is a great combination between artistry and engineering.
Bill GatesReady to Apply These Commands? Get Your Own VPS!
Start managing your server with full control and flexibility. Our VPS plans offer the power you need. — from €4.49/mo.
Choose VPS Hosting →
Configuring and Managing Core Services
Alright, so, now let's talk about service configuration. Things get a bit more complex here, but don't worry, I'll help you figure it out. The deal is, every service has its own configuration file where its settings are stored. These files are usually located in the `/etc` directory. Let's look at configuring a few popular services.Nginx Configuration (web server)
Nginx is a very popular web server. Its configuration file is located at `/etc/nginx/nginx.conf`. In this file, you can configure the main server parameters, such as the number of worker processes, connection limits, etc. But the main settings for websites are located in the `/etc/nginx/sites-available/` directory. To create a new site, you need to create a configuration file in this directory, for example, `/etc/nginx/sites-available/mysite.com`:server {
listen 80;
server_name mysite.com www.mysite.com;
root /var/www/mysite.com;
index index.html index.htm;
location / {
try_files $uri $uri/ =404;
}
}sudo ln -s /etc/nginx/sites-available/mysite.com /etc/nginx/sites-enabled/sudo systemctl restart nginxsudo systemctl status nginxUFW Configuration (firewall)
UFW (Uncomplicated Firewall) is a simple and convenient firewall. It allows you to configure rules for incoming and outgoing traffic. To enable UFW, execute the command:sudo ufw enablesudo ufw allow sshsudo ufw allow 80
sudo ufw allow 443sudo ufw status| Service | Configuration File | Restart Command |
|---|---|---|
| Nginx | /etc/nginx/nginx.conf, /etc/nginx/sites-available/* | sudo systemctl restart nginx |
| UFW | /etc/ufw/ufw.conf | sudo ufw enable, sudo ufw disable |
Simplicity is prerequisite for reliability.
Edsger W. Dijkstra
Monitoring VPS Resources
Real talk, resource monitoring is a must-have for any VPS administrator. Without monitoring, you won't know what's happening with your server until it crashes. Honestly, I don't understand how people work without monitoring. It's like driving a car blindfolded.Using the Command Line for Monitoring
There are several useful commands in the command line for monitoring resources. The simplest is the `top` command:tophtopsudo apt install htopdf -hfree -miftopsudo apt install iftopExample Script for Load Monitoring
Here's a simple script that shows current CPU, memory, and disk load:#!/bin/bash
CPU_USAGE=$(top -bn1 | grep "Cpu(s)" | sed "s/.*id: \([0-9.]*\).*/\1/" | awk '{print 100 - $1}')
MEM_USAGE=$(free -m | awk 'NR==2{printf "%.2f%%", $3*100/$2 }')
DISK_USAGE=$(df -h / | awk '$NF=="/"{printf "%s", $5}')
echo "CPU Usage: $CPU_USAGE%"
echo "Memory Usage: $MEM_USAGE"
echo "Disk Usage: $DISK_USAGE"chmod +x monitor.sh./monitor.sh| Command | Description |
|---|---|
top | Shows a list of processes sorted by CPU usage |
htop | An improved version of top |
df -h | Shows information about occupied and free disk space |
free -m | Shows information about occupied and free memory |
iftop | Shows network usage |
Without data, you're just another person with an opinion.
W. Edwards Deming
File and Permissions Management
Okay, so, now let's talk about file and permissions management. Honestly, this is one of the most fundamental things you need to know to manage a server. The deal is, everything in Linux is a file. Even directories. So, knowing how to work with files is a must-have.Basic File Management Commands
The most basic command is `ls` (list). It shows a list of files and directories in the current directory:lsls -als -lcd /var/www/htmlcd ..cd
cd ~mkdir mydirectoryrm myfile.txtrmdir mydirectoryrm -r mydirectorycp myfile.txt mycopy.txtcp -r mydirectory mycopydirectorymv myfile.txt /tmpmv myfile.txt newfile.txtPermissions (777 - evil!)
In Linux, every file has permissions for the owner, group, and other users. Permissions are denoted by three digits, each representing the sum of rights:- 4 – read permission
- 2 – write permission
- 1 – execute permission
- 7 – owner has read, write, and execute permissions (4+2+1)
- 5 – group has read and execute permissions (4+1)
- 5 – other users have read and execute permissions (4+1)
chmod 755 myfile.txt| Command | Description |
|---|---|
ls | Shows a list of files and directories |
cd | Changes to another directory |
mkdir | Creates a new directory |
rm | Deletes a file |
cp | Copies a file |
mv | Moves or renames a file |
chmod | Changes permissions |
Give a man a program, frustrate him for a day. Teach a man to program, frustrate him for a lifetime.
Muhammad Waseem
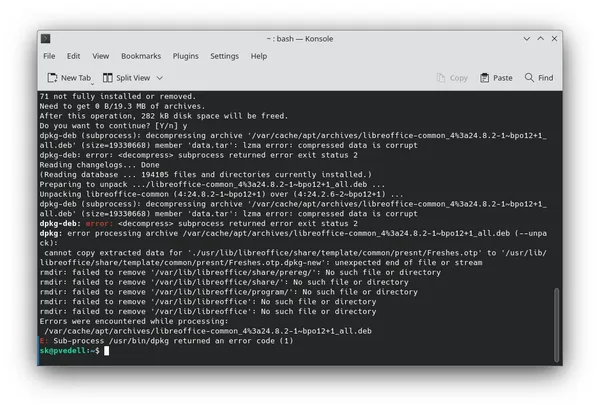
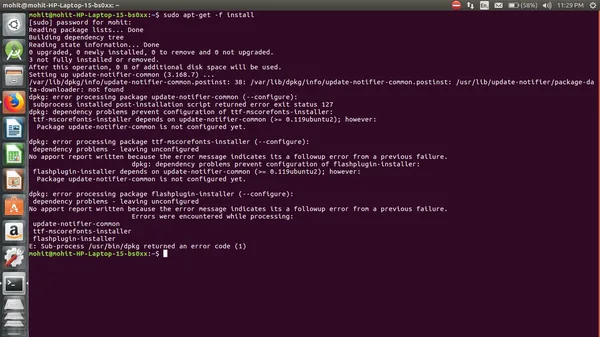
Troubleshooting Common Issues and Debugging
Alright, let's talk about troubleshooting. Honestly, this is one of the most complex and crucial parts of VPS management. The deal is, something always breaks. And your job is to find and fix the problem.Basic Debugging Tools
The first and most important tool is logs. Most services write their logs to files. They are usually located in the `/var/log` directory. For example, Nginx logs are in `/var/log/nginx/`. To view the last lines of a log, use the `tail -f` command:tail -f /var/log/nginx/error.loggrep "error" /var/log/nginx/error.logjournalctl -u nginxjournalctl -u nginx --since "10 minutes ago"journalctl -u nginx -fsystemctl status nginxNeed Even More Power? Upgrade to a Dedicated Server!
For ultimate performance and complete control, explore our SSD dedicated servers. Perfect for demanding projects.
Explore Dedicated Servers →