MySQL is a powerful relational database management system that is widely used in web development. Installing MySQL on a VPS may seem like a daunting task, but it's actually quite simple if you follow our step-by-step guide.
Step 1: Update Packages
The first step is to update your VPS packages. To do this, run the following command:
sudo apt update
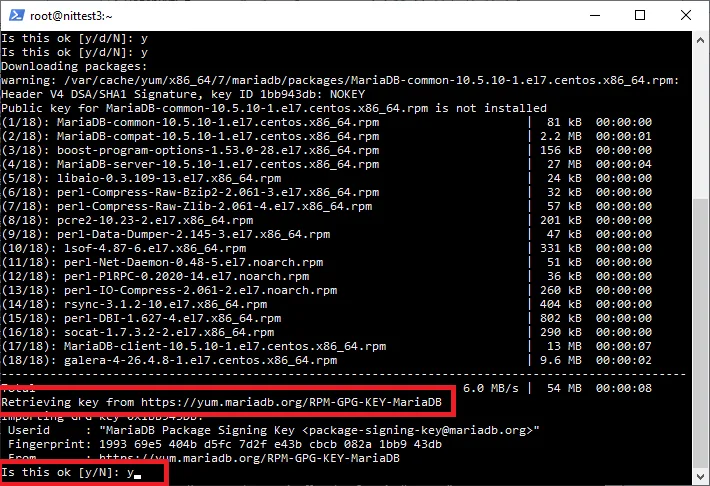
Step 2: Install MySQL
Now let's install MySQL on the VPS. Execute the following commands:
sudo apt install mysql-server
After installing MySQL, you will need to start it and configure it:
sudo mysql_secure_installation
Step 3: Login to MySQL
Now that MySQL is installed and configured, you need to log in to it using the command:
sudo mysql -u root -p
Enter the password you specified when configuring MySQL.
Step 4: Create a Database
Now let's create a database in MySQL. Execute the following command:
CREATE DATABASE database_name;
Don't forget to replace "database_name" with the name of your database.
Step 5: Create a User and Grant Privileges
To secure your database, create a user and grant them access privileges. Execute the following commands:
CREATE USER 'user'@'localhost' IDENTIFIED BY 'password';
GRANT ALL PRIVILEGES ON database_name.* TO 'user'@'localhost';
Don't forget to replace "user", "password", and "database_name" with the appropriate values.
Step 6: Exit MySQL
After completing the database configuration, exit MySQL by typing the command:
exit;
Now you have successfully installed MySQL on your VPS. You have a database and a user to manage it. Congratulations!