Installing GitLab on a Dedicated Server with Ubuntu 18.04
GitLab is a source code management system that enables development teams to collaborate effectively on projects. Installing GitLab on a dedicated servers with Ubuntu 18.04 can be challenging, but with our Ubuntu VPS: A Step-by-Step Guide" class="internal-post-link">step-by-step guide, you’ll be able to successfully set up this platform. Before you begin installing GitLab, ensure you have a dedicated server with Ubuntu 18.04 installed and root access. You also need a static servers with IP addresses to access the server via the internet.Step 1: Installing Dependencies
Open a terminal on your server and execute the following commands:
sudo apt update
sudo apt install -y curl openssh-server ca-certificates postfix
Step 2: Installing GitLab
Now let’s install GitLab via the official repository. Execute the following commands:
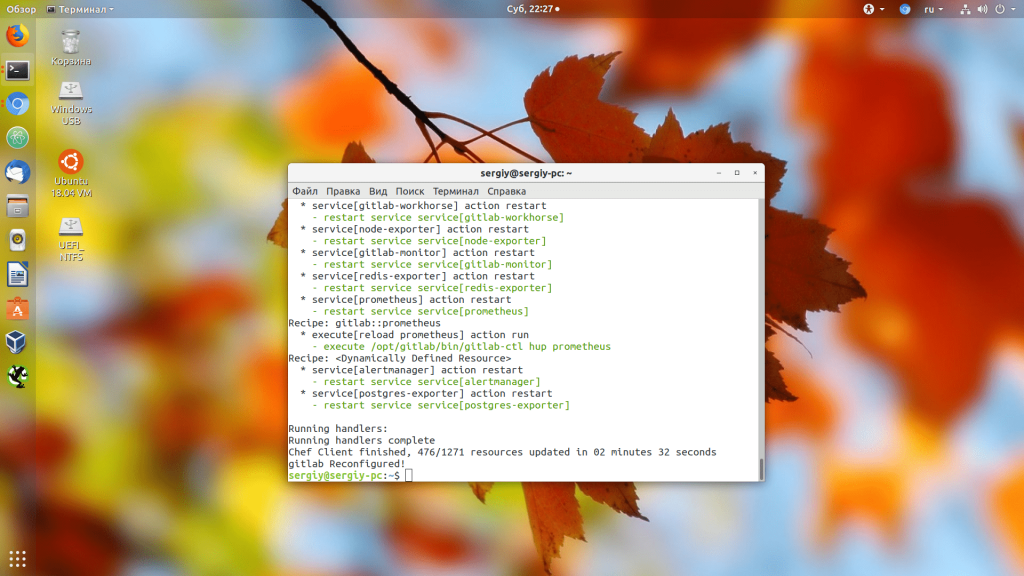
curl -s https://packages.gitlab.com/install/repositories/gitlab/gitlab-ce/script.deb.sh | sudo bash
sudo EXTERNAL_URL="http://gitlab.example.com" apt install gitlab-ce
Step 3: Configuring GitLab
After installing GitLab, open your browser and enter your server’s URL. You will be prompted to change the password for the administrator account. Afterward, you can log in to the GitLab interface and create a new project.
That’s it! You’ve now successfully installed GitLab on your dedicated server running Ubuntu 18.04. Enjoy collaborating on projects with your development team!


![How to Set Up Automated VDS Backups in [Platform/Location]](https://valebyte.com/blog/wp-content/uploads/2025/11/leonardo_3b4910a9-300x169.jpg)