How to Restore IIS on a Windows Dedicated Server?
Sometimes, issues arise with the Internet Information Services (IIS) web server on a Windows dedicated servers. This can happen due to unknown errors, system failures, or other reasons. This article will guide you through restoring IIS on your Windows server.Before starting the restoration process, ensure you have administrative privileges on the server. Also, back up all important data to avoid information loss in unforeseen circumstances.
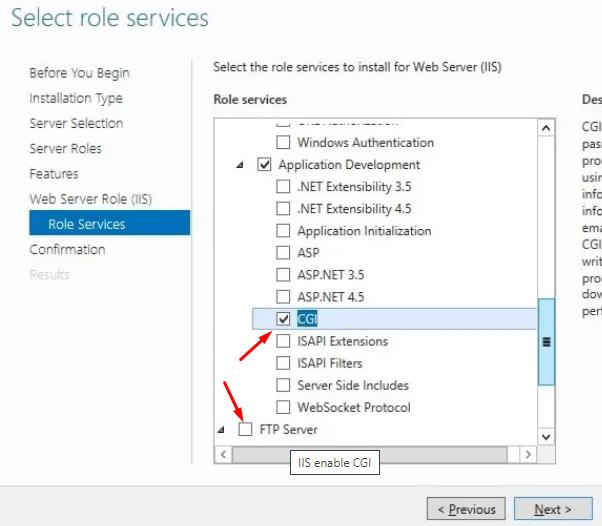
1. Reinstalling IIS
The first step in restoring IIS is reinstalling the service on the server. To do this, execute the following commands:
Open Command Prompt as an administrator.Run the command "dism /online /enable-feature /featurename:IIS-WebServerRole".Restart the server after the installation is complete.
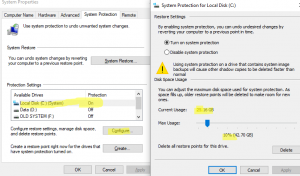
2. Configuration Check
After reinstalling IIS, it’s crucial to check the server’s configuration for errors and failures. Follow these steps:
Open the Control Panel and navigate to the "IIS Administration" section.Verify that all IIS components are installed and functioning correctly.If necessary, configure the settings according to Microsoft's recommendations.
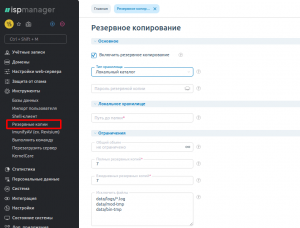
3. Restoring from Backup
If you have a backup of your IIS configuration, you can restore it for quick server recovery. Follow these steps:
Open the Control Panel and locate the "IIS Tools" section.Select the "Restore" option and perform the restoration from your backup.Restart the server after the restoration is complete.
By following these steps, you can restore IIS on your Windows dedicated server and return it to a working state. Remember the importance of regularly creating backups for quick data recovery in case of failures.