How to Configure Webmin on a VPS Server?
Webmin is a convenient, open-source utility for managing your server through a web interface. It allows you to easily manage various server parameters, such as Apache, DNS, SSH, and much more. This article will guide you through setting up Webmin on your VPS hosting server.Step 1: Installing Webmin
The first step in installing Webmin on your VPS server is adding the Webmin repository to your list of package sources. Execute the following commands:
sudo sh -c 'echo "deb https://download.webmin.com/download/repository sarge contrib" > /etc/apt/sources.list.d/webmin.list'
wget -qO - http://www.webmin.com/jcameron-key.asc | sudo apt-key add -
After adding the repository, update the package list and install Webmin using the following commands:
sudo apt update
sudo apt install webmin
Step 2: Accessing Webmin
After installing Webmin, you’ll need to open port 10000 in your server’s firewall to access the web interface. Then, navigate to the following URL in your web browser:
https://your_vps_ip:10000
Then enter your root user credentials or any other user with superuser privileges. After entering your credentials, you will be redirected to the Webmin main page.
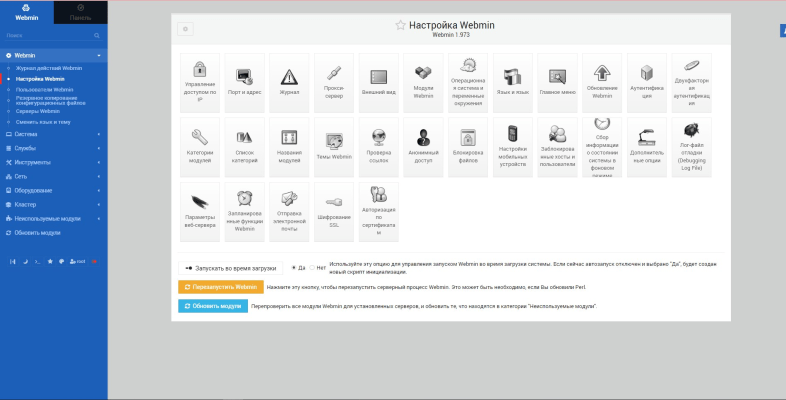
Step 3: Configuring Webmin
Now that you have access to Webmin, you can begin configuring your server’s settings. Various management sections are available, such as Apache, DNS, DHCP, and much more. Explore Webmin’s capabilities and configure your server to meet your needs.
Remember to install an SSL certificate for the Webmin website to ensure a secure connection. Also, regularly update installed packages and monitor for security updates.
You now have complete information on how to set up Webmin on your VPS server. Follow the steps outlined and enjoy convenient server management through a web interface!