Setting up a Mail Server on an Ubuntu VPS
If you have a VPS hosting server with Ubuntu installed, you can set up a mail server on it to send and receive emails. This article will guide you through setting up a mail server on an Ubuntu VPS.Installing and Configuring Postfix
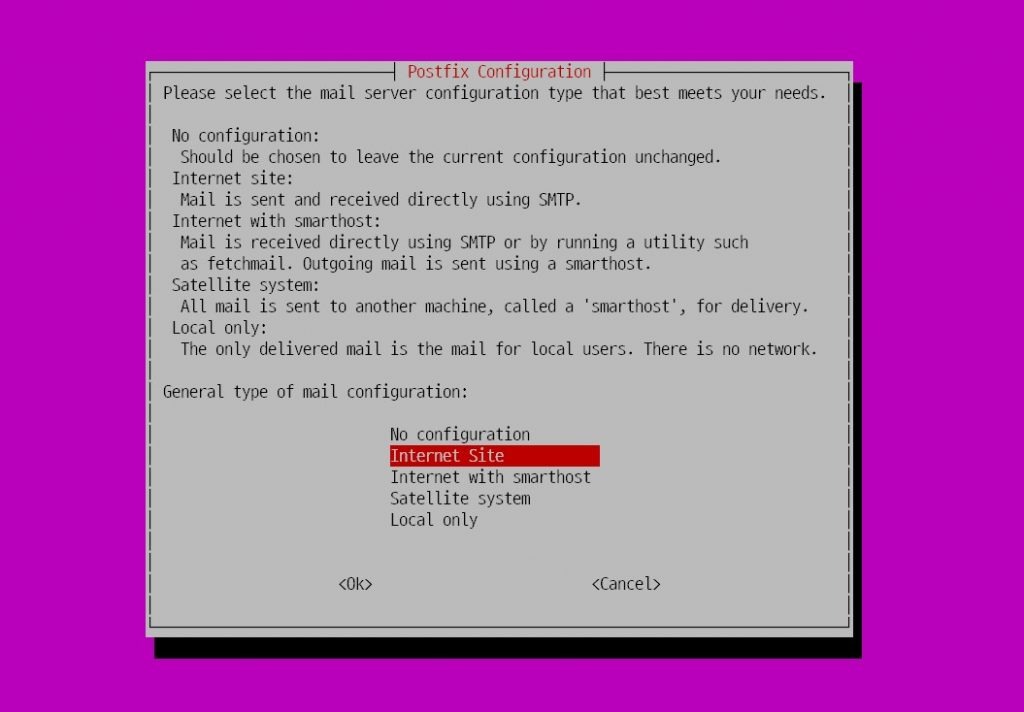
First, let’s install the Postfix mail server. Open your terminal and run the following commands:
sudo apt update
sudo apt install postfix
After installation, you need to configure Postfix. Open the file /etc/postfix/main.cf and add the following lines:
myhostname = mail.example.com
mydomain = example.com
myorigin = $mydomain
Installing and Configuring Dovecot
Now let’s install and configure the Dovecot mail server for receiving emails. Run the following commands:
sudo apt install dovecot-core dovecot-imapd
After installation, edit the /etc/dovecot/dovecot.conf file and specify the following parameters:
mail_location = maildir:~/Maildir
mail_privileged_group = mail
Setting up an SSL Certificate
To ensure secure data transmission, it’s recommended to set up an SSL certificate for your mail server. Install Certbot and generate an SSL certificate using the following commands:
sudo apt install certbot
sudo certbot --nginx
Configuring SPF and DKIM
To improve email deliverability, configure SPF and DKIM. For SPF configuration, add a TXT record to your domain’s DNS specifying your server’s servers with IP addresses. For DKIM configuration, generate a key and add it to your DNS.After completing all the setup steps, your mail server will be ready to use. Test its functionality by sending a test email to your email address.
Happy mail server administration on your Ubuntu VPS!