How to Use R1Soft for VPS Backups?
Virtual Private Servers (VPS hosting) have become a popular solution for data storage and running web applications. However, it’s crucial to remember that data security plays a key role. To ensure security, it’s recommended to use software for regular data backups. In this article, we’ll show you how to use R1Soft, one of the most popular backup solutions for VPS.1. Installing R1Soft on your VPS
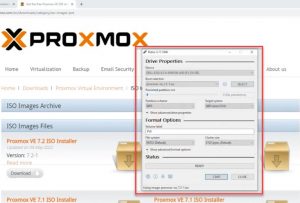
The first step is installing R1Soft on your VPS. To do this, you need to execute the following commands:
yum install kernel-devel-$(uname -r)
rpm -i http://repo.r1soft.com/r1soft.asc
cd /etc/yum.repos.d/
wget http://repo.r1soft.com/r1soft.repo
yum install serverbackup-enterprise
2. Configuring R1Soft
After installation, you need to configure R1Soft. Run the command:
/etc/init.d/cdp-server restart
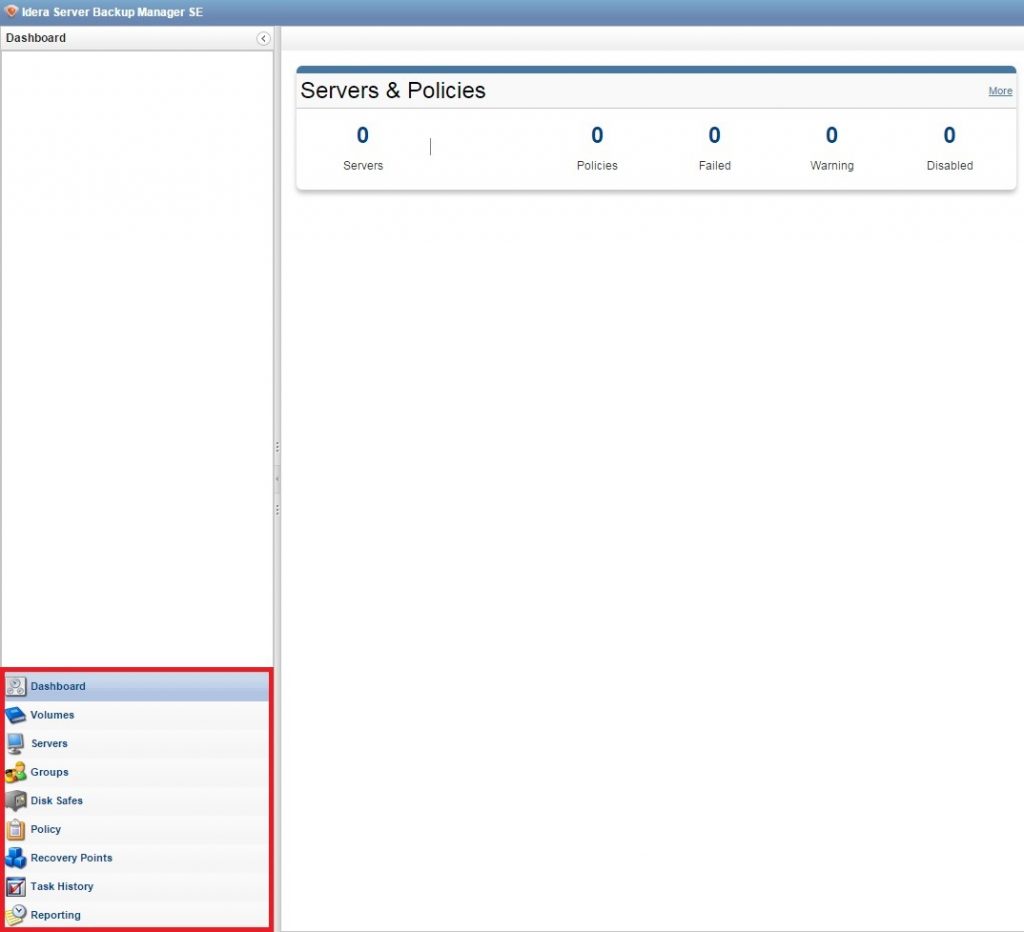
3. Creating a Data Backup
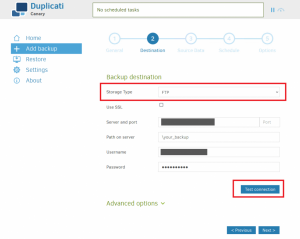
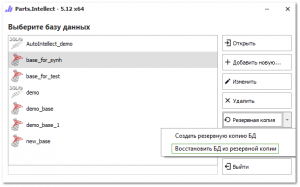
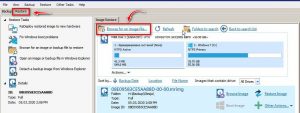
Now that R1Soft is configured, you can start creating data backups. To do this, go to the “Create Protection” section and select the settings for your backup. Specify the folders and files you want to include in the backup, and then click the “Create Protection” button.
Remember to regularly update your data backups to protect your data from loss or corruption. With R1Soft, you can automate this process by setting up a backup schedule.
Using R1Soft for VPS backups is a reliable and convenient way to ensure the safety of your data. Remember to follow the recommendations for regularly creating and updating backups to avoid data loss.