How to Restore Hyper-V VPS Configuration?
A Hyper-V Virtual Private Server (VPS hosting) is a reliable and powerful tool for server virtualization on Windows. However, sometimes situations arise where you need to restore your VPS configuration. This article will guide you through the process.Step 1: Accessing Hyper-V Manager
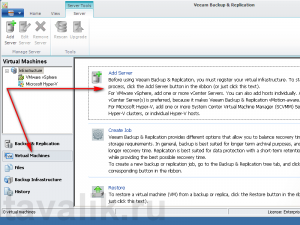
First, you need to access the Hyper-V Manager. Open the Windows Control Panel and find the “Hyper-V Manager” section.
After accessing Hyper-V Manager, select the virtual server whose configuration you need to restore.
Step 2: Restoring a Snapshot
To restore your VPS configuration, you need to restore a server snapshot. Find the appropriate snapshot in the list of available snapshots and run the following command:
Restore-VMSnapshot -Name "Snapshot_Name"
Replace “Snapshot_Name” with the name of your server’s snapshot. After running this command, your VPS configuration will be restored to the state specified in the snapshot.
Step 3: Configuration Verification
After restoring your VPS configuration, it’s recommended to verify the functionality of all components. Ensure that all services are running and the server is accessible over the network.
Conclusion
Restoring the configuration on a Hyper-V VPS is straightforward if you follow the steps outlined above. Remember that regularly creating snapshots of your server will help restore functionality in unforeseen situations.