How to Create a Disk Image
Creating a disk image is a crucial method for backing up your data and ensuring its integrity. A disk image is an exact copy of the contents of a hard drive, including the operating system, applications, and user files. In this article, we’ll explore how to create a disk image on various operating systems.
Windows
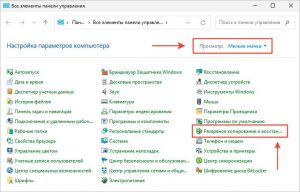
To create a disk image on Windows, you can use the built-in “Backup and Restore” tool. To create a disk image, follow these steps:
- Click Start and type “Backup and Restore”.
- Select “Create a system image” and follow the wizard’s instructions.
- Choose a location to save the image and complete the process.
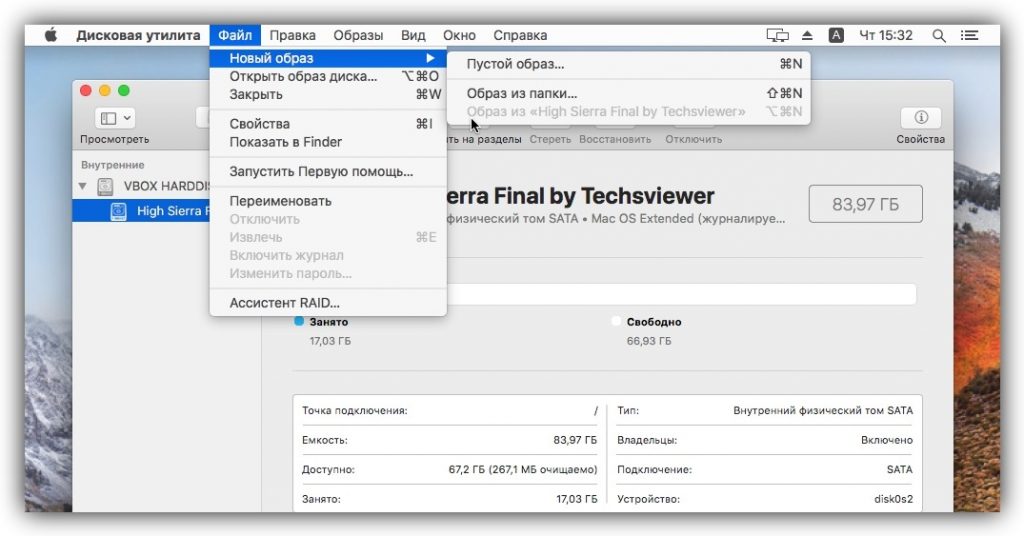
macOS
On macOS, you can create a disk image using the built-in “Disk Utility”. To create a disk image, follow these steps:
- Open “Disk Utility” from the “Applications” folder.
- Select the disk you want to copy and click the “Create Image” button.
- Choose the format and location to save the image, and click “Save”.
Linux
On Linux, you can create a disk image using the “dd” utility. To create a disk image, execute the following commands in the terminal:
sudo dd if=/dev/sdX of=/path/to/file.img bs=4M status=progress
Where:
if=/dev/sdX– specifies the source device you want to copy.of=/path/to/file.img– specifies the path to the disk image file.bs=4M– specifies the block size for copying data.status=progress– shows the progress of the operation.
After executing the command, the disk image will be created at the specified location. The image can be restored if necessary.
Conclusion
Creating a disk image is a vital procedure for preserving important data and ensuring system security. Use the built-in tools or utilities to create disk images on different operating systems. Remember to regularly update the image and store it in a safe location.