Table of Contents
-
How to Connect to a VPS hosting via RDP (Remote Desktop)
- Security Configuration: Firewall, Passwords, Accounts
- Installing Software and Optimizing Performance
- Comparative Table of Software Installation Methods
- Conclusions
Introduction
Hello, friend! If you are reading this article, it means you have decided to dive into the world of Windows VPS and learn how to properly configure it for your tasks. Perhaps you are planning to use the VPS for hosting websites, developing applications, or simply for remote access to your desktop. In any case, proper server configuration is the key to its stable and secure operation. Here I will tell you about each stage – from connecting via RDP to fine-tuning security and optimizing performance.
We will go through the main steps, analyze each command in detail, and even add useful links for downloading the necessary tools. So make yourself comfortable, pour yourself a cup of coffee, and let’s get started!
")
How to Connect to a VPS via RDP (Remote Desktop)
The first step towards effective use of a VPS is connecting to it. On Windows, this is done using the RDP (Remote Desktop Protocol), which allows you to work with a remote desktop as if you were sitting right at the server.
Step 1: Launching the RDP Client
If you are working on Windows, just press Win + R to bring up the «Run» window, then enter the command:
mstsc
Press Enter, and the standard «Remote Desktop Connection» application will launch.
Step 2: Entering the IP Address and Credentials
In the window that appears, you need to enter the servers with IP addresses of the VPS. If your server is configured to a non-standard port (different from 3389), specify it with a colon, for example: 192.168.1.100:3390. After that, click the Connect button and enter the credentials provided to you (login and password).If you are using macOS or iOS, I recommend downloading the official Microsoft Remote Desktop application:
After a successful connection, you will see the desktop of your VPS, ready for further configuration.

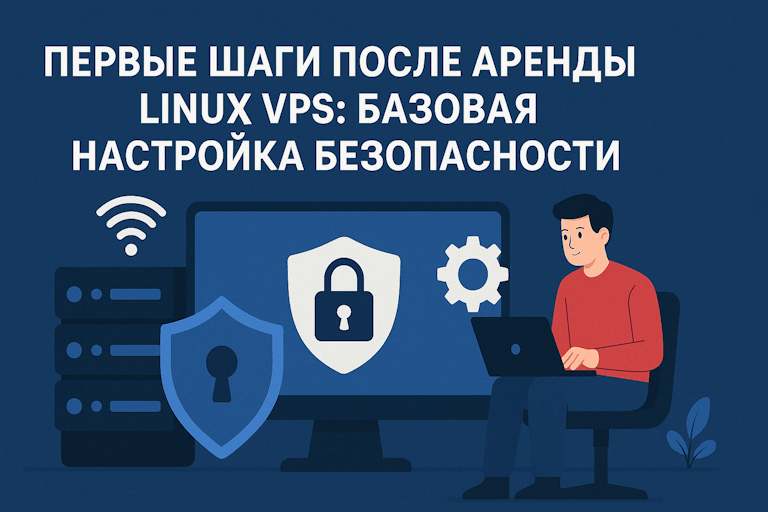
Security Configuration: Firewall, Passwords, Accounts
VPS security is not just a fashionable word, but the foundation of stable and uninterrupted operation. Remember that your server can become a target for hackers, so you should start protecting it immediately after the first connection.
System Update
Before performing any settings, make sure that you have all the latest Windows updates installed. This will help close known vulnerabilities and protect the server from exploits. Updates can be installed through «Windows Update» or using the command line:
powershell -Command "Install-WindowsUpdate -AcceptAll -AutoReboot"
If you do not have a built-in utility for updates via PowerShell, I recommend downloading the Windows Update PowerShell Module.
Firewall Configuration
One of the most important elements of VPS protection is a properly configured Windows Firewall. It is recommended to create a separate rule for RDP to prevent unauthorized access.
To create a rule, run the following command in the command line (with administrator rights):
netsh advfirewall firewall add rule name="RDP" dir=in action=allow protocol=TCP localport=3389
This command will allow incoming connections via the standard RDP port. If you plan to use a non-standard port or restrict access by IP address, you can add additional parameters, for example:
netsh advfirewall firewall add rule name="RDP_Limited" dir=in action=allow protocol=TCP localport=3390 remoteip=192.168.1.0/24
In this way, access will only be allowed from the specified IP address range.
Password and Account Configuration
Never use simple or standard passwords! Create strong and unique passwords for all accounts. In addition, it makes sense to create a new user with administrator rights and restrict the use of the built-in «Administrator» account.
To create a new local user, open PowerShell with administrator rights and run the following commands:
New-LocalUser -Name "NewAdmin" -Password (ConvertTo-SecureString "Your_Str0ng_P@ssw0rd!" -AsPlainText -Force)
Then add the new user to the administrators group:
Add-LocalGroupMember -Group "Administrators" -Member "NewAdmin"
These simple steps will significantly increase the level of protection for your server.

“Security is not a product, but a process.” – Bruce Schneier
[info]Tip: Regularly check security logs and update passwords to stay one step ahead of potential threats.[/info]
Installing Software and Optimizing Performance
Once security is configured, it’s time to install the necessary applications and optimize the VPS performance. Here, the Chocolatey package manager will come to your aid – a tool that will significantly speed up and simplify software installation.
Installing Chocolatey
To install Chocolatey, open PowerShell with administrator rights and run the following command:
Set-ExecutionPolicy Bypass -Scope Process -Force; [System.Net.ServicePointManager]::SecurityProtocol = [System.Net.ServicePointManager]::SecurityProtocol -bor 3072; iex ((New-Object System.Net.WebClient).DownloadString('https://chocolatey.org/install.ps1'))
This command will download and install Chocolatey on your server. After the installation is complete, you can easily add new packages, update them, and manage software.
Installing Necessary Software
With Chocolatey, you can install almost everything you need to work. For example, to install the Google Chrome browser and the 7zip archiver, run the commands:
choco install googlechrome -y
choco install 7zip -y
If you prefer manual installation, download the installation files from the official websites. However, automation via Chocolatey saves a lot of time, especially when configuring multiple servers.
Optimizing VPS Performance
To ensure that the VPS works quickly and stably, you should optimize the system:
- Disabling unnecessary services. Check running services via
services.mscand stop those that are not required for your applications to work. - Configuring power options. In the «Control Panel», go to the «Power Options» section and select a scheme optimized for performance. This is especially important if the VPS is used for intensive calculations.
- Adjusting the paging file. If the server is under load when working with large amounts of data, manually configuring virtual memory can help avoid freezes.
- System monitoring. Use built-in Windows tools, such as «Task Manager» and «Resource Monitor», or install specialized utilities for continuous monitoring of the server’s status.
If you need an in-depth monitoring solution, pay attention to PRTG Network Monitor – a free version for small networks.

Comparative Table of Software Installation Methods
| Method | Advantages | Disadvantages |
|---|---|---|
| Chocolatey |
|
|
| Manual Installation |
|
|
[note]Note: the choice of installation method depends on your specific tasks and preferences in server management. If speed and automation are important to you – use Chocolatey, and if you need individual configuration – choose manual installation.[/note]
Conclusions
Dear friend, in this detailed instruction, we have gone all the way from the first connection to Windows VPS to deeply configuring its security and optimizing its operation. Here’s what we learned:
- Connection via RDP. We looked at how to establish a remote connection using the
mstsccommand and entering the server’s IP address. Thanks to this, you get access to the VPS desktop as if you were directly in front of it. - Security configuration. We not only updated the system, but also configured Windows Firewall, created reliable accounts, and provided protection with strong passwords. These steps significantly reduce the risk of unauthorized access.
- Software installation and optimization. With Chocolatey, you can quickly install and update the necessary programs, and optimizing the VPS (from disabling unnecessary services to configuring virtual memory) guarantees stable and fast server operation.
- Comparative analysis of installation methods. We compared the advantages of automated management through Chocolatey and the flexibility of manual installation, which will help you choose the best approach depending on the specifics of your work.
Each of the described steps is an important part of the overall strategy for administering and maintaining the performance of Windows VPS. I hope that this instruction will become a reliable assistant for you in working with the server and will help you avoid common mistakes.
If you have any questions or need additional information, do not hesitate to return to this material – like an old friend, it will always suggest the right solution.
Good luck to you in administering and configuring your Windows VPS!