How to Configure Backups on a WHM/cPanel Dedicated Server?
Every dedicated servers owner knows the importance of regular backups to protect data from loss. In this article, we’ll explain how to set up backups on WHM/cPanel to ensure the safety of your files and databases.WHM (Web Host Manager) and cPanel are popular tools for server and web hosting management. They provide a simple and convenient interface for creating and managing backups.
Step 1: Logging into WHM
The first step is to log in to the WHM control panel. To do this, open your browser and enter your server’s address followed by the WHM port (for example, https://yourserver.com:2087).
Then enter your credentials (username and password) and click the “Login” button.
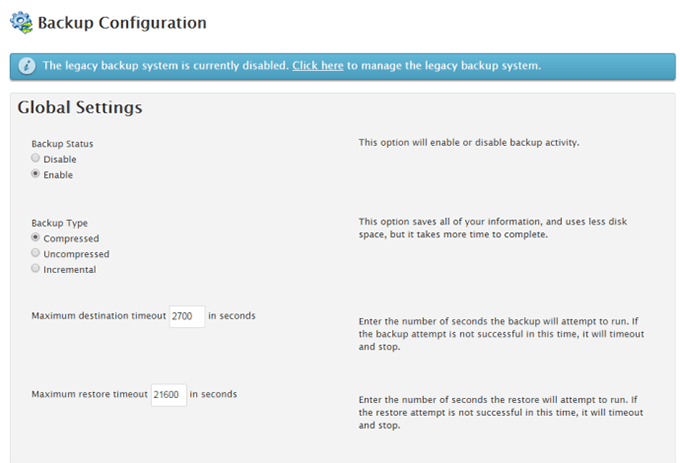
Step 2: Backup Configuration
After logging into WHM, go to the “Backup Configuration” section. Here you can specify the parameters for creating and storing backups.
Choose how often you want to create backups (daily, weekly, monthly) and where to save them (on the server, on a remote server, on FTP, on Amazon S3, etc.).
You can also configure backup completion notifications and other parameters as needed.
Step 3: Running a Backup
After configuring the backup parameters, click the “Save Configuration” button. Then start creating a backup by clicking the corresponding button in the “Backup” section.
After the backup process is complete, make sure that all files and databases have been successfully copied and saved to the specified location.
Conclusion
Setting up backups on a WHM/cPanel dedicated server doesn’t take much time, but it provides reliable protection of your information from loss. Follow the steps above and your server will be protected by backups.