
Table of Contents
- What is a Seedbox and Why Do You Need One?
- Installing and Configuring Transmission on a VPS
- Installing and Configuring qBittorrent on a VPS
- Installing and Configuring Deluge on a VPS
- Working with Remote Torrent Clients via Web Interface
- Security and Leak Protection
- Comparison Table: Transmission, qBittorrent, and Deluge
- Conclusions
Hello, friend! If you’ve ever dreamed of setting up automatic downloading and seeding of files via a VPS (Seedbox), you’ve come to the right place. In this article, I’ll cover everything you need to know for effectively working with a seedbox: from installing popular torrent clients to protecting your system from data leaks. We’ll take a detailed look at Transmission, qBittorrent, and Deluge, as well as how they work through a web interface. So, make yourself comfortable, grab a cup of coffee, and read on – I’ll share with you all the experience I’ve gained over the years of working with these technologies.

What is a Seedbox and Why Do You Need One?
A Seedbox is a remote server designed for automated downloading and seeding of files via torrent networks. The main advantage of a seedbox is the high connection speed, operational stability, and the ability to remain anonymous, since everything happens on a remote server. This approach allows you to offload your home connection, increase seeding speed, and ensure security, especially if you value privacy.
Thanks to the seedbox, automatic file downloading becomes a simple and reliable procedure. The VPS on which the seedbox is deployed allows you to run torrent clients 24/7, which is especially convenient for those who are constantly exchanging data. In addition, using a VPS allows you to easily scale resources, add new features, and integrate various automation tools.
Installing and Configuring Transmission on a VPS
Transmission is one of the most popular torrent clients for server-side operation. Its simplicity and reliability make it an excellent choice for setting up a seedbox. Let’s take a look at the step-by-step installation and configuration of Transmission.
Step 1. Installing Transmission
To start, you need to update the packages and install transmission-daemon:
sudo apt update
sudo apt install transmission-daemon
Step 2. Stopping the Daemon and Configuring the Configuration
After installation, you need to stop the Transmission service to make changes to the configuration file:
sudo systemctl stop transmission-daemon
Open the /etc/transmission-daemon/settings.json file for editing:
sudo nano /etc/transmission-daemon/settings.json
In the file, I recommend changing the following parameters:
"rpc-authentication-required": true– to enable authentication"rpc-username": "your_username"– set your username"rpc-password": "your_password"– set a strong password (note that Transmission will encrypt the password on the first launch)"rpc-whitelist": "127.0.0.1,192.168.*.*"– configure the list of trusted IP addresses
Step 3. Starting the Transmission Service
After making the changes, restart the service:
sudo systemctl start transmission-daemon
Now you can access the Transmission web interface at: http://your_vps_ip:9091.
Additional information and the latest versions of Transmission are available on the official Transmission website.
Installing and Configuring qBittorrent on a VPS
qBittorrent is a powerful torrent client with a user-friendly and functional web interface. Its advantages lie in its extensive settings and built-in search system. Let’s install and configure qBittorrent on our VPS.
Step 1. Installing qBittorrent-nox
To work on a server without a graphical interface, use the qBittorrent-nox version:
sudo apt update
sudo apt install qbittorrent-nox
Step 2. Starting qBittorrent-nox
Start the client with the command:
qbittorrent-nox
The first time you start the program, it will prompt you to set a password for the web interface. Remember it!
Step 3. Configuring the Web Interface
By default, the qBittorrent web interface is available at: http://your_vps_ip:8080. If you need to change the port or make other changes, edit the configuration file, usually located in ~/.config/qBittorrent/qBittorrent.conf.
Detailed documentation and the latest updates are available on the official qBittorrent website.
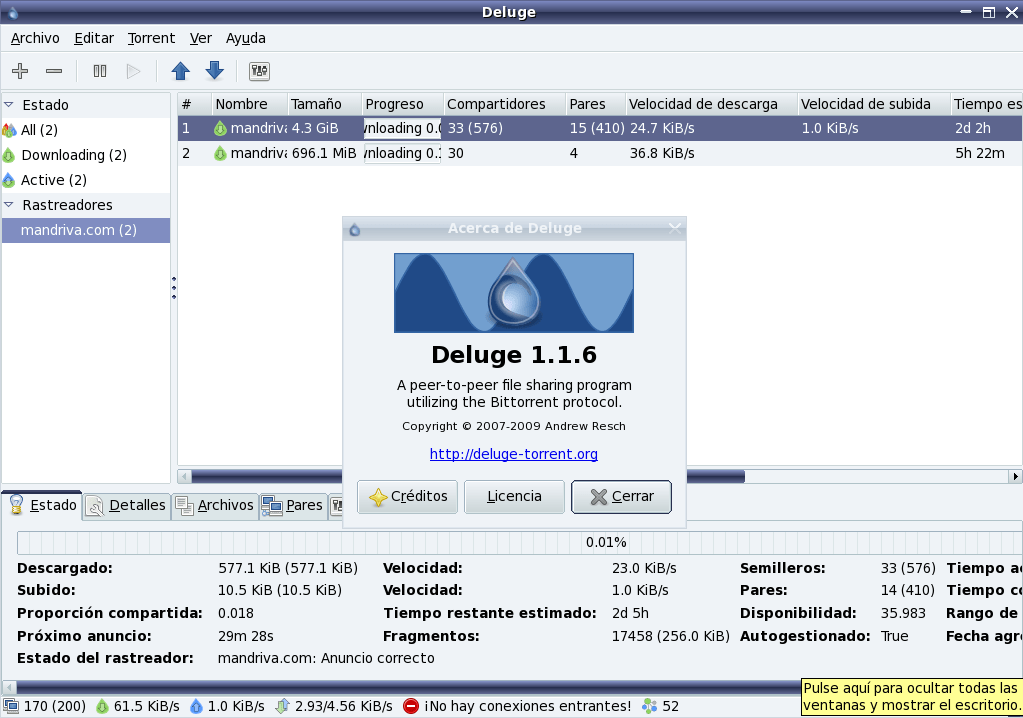
Installing and Configuring Deluge on a VPS
Deluge is a flexible torrent client that, due to its modular architecture, allows you to customize the system for any need. Its advantage is the ability to expand functionality through plugins. Below are instructions for installing Deluge.
Step 1. Installing Deluge
To install Deluge and its web interface, run the following commands:
sudo apt update
sudo apt install deluged deluge-web
Step 2. Starting the Deluge Daemon
Start the Deluge daemon with the command:
deluged
Start the web interface:
deluge-web
By default, the web interface is available at: http://your_vps_ip:8112. The default password is deluge, don’t forget to change it in the settings!
For more information and the latest versions of Deluge, refer to the official Deluge website.
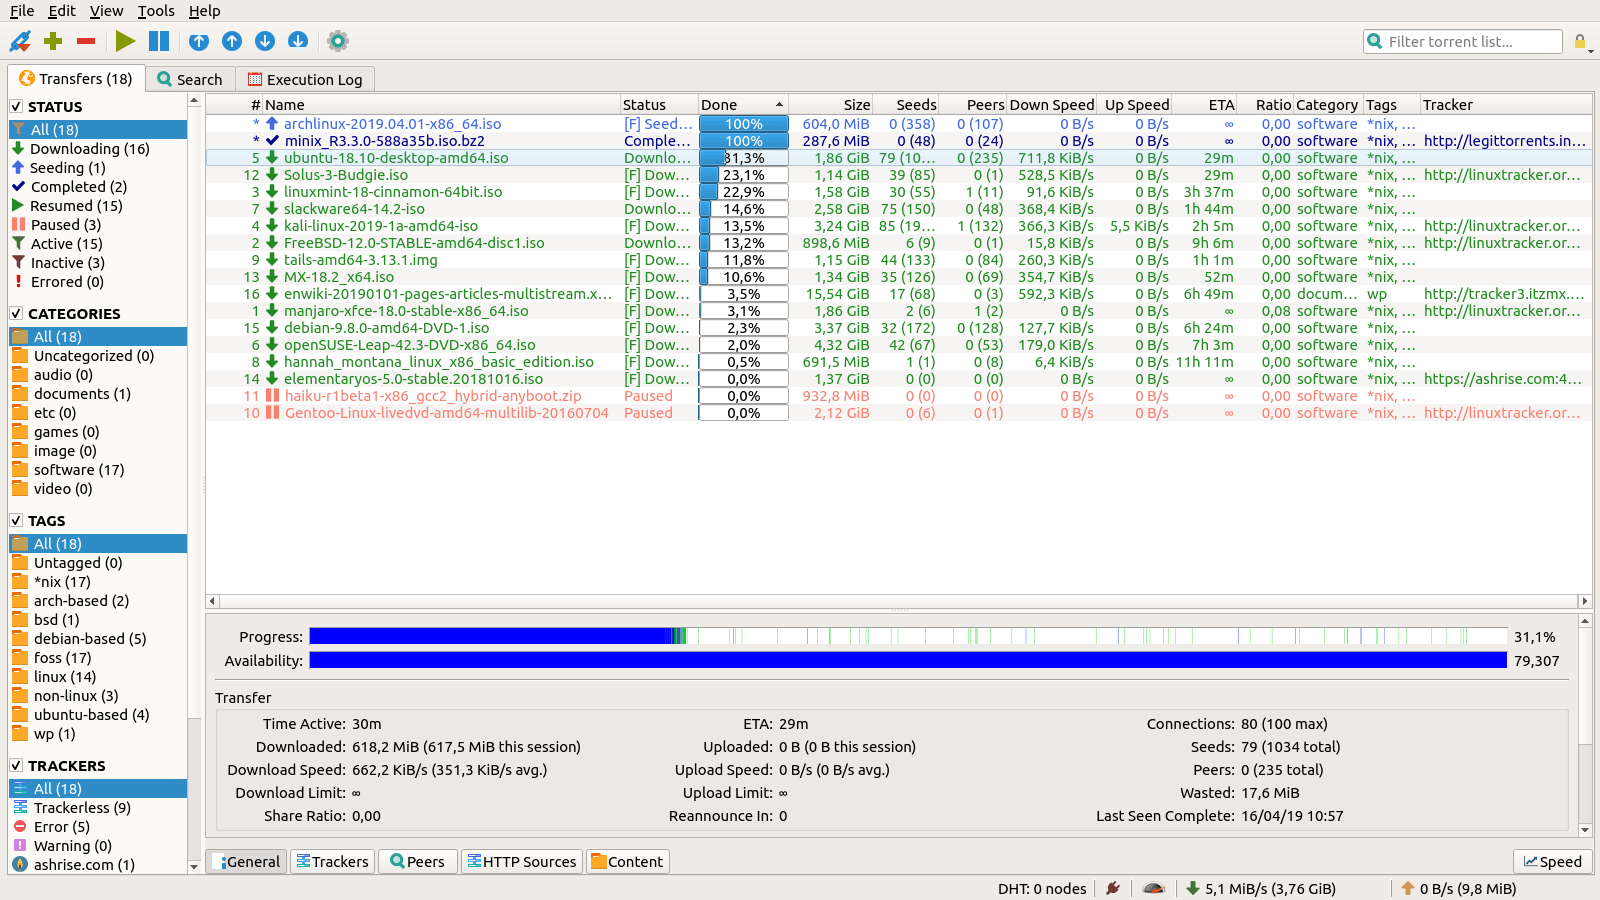
Working with Remote Torrent Clients via Web Interface
One of the main advantages of setting up a seedbox is the ability to manage torrent clients through a convenient web interface. This allows you to access settings and monitor downloads from anywhere in the world. To access it, simply type the address of your VPS with the specified port in your browser, for example:
- Transmission:
http://your_vps_ip:9091 - qBittorrent:
http://your_vps_ip:8080 - Deluge:
http://your_vps_ip:8112
If you want to increase access security, you can configure reverse proxy using Nginx. Here’s a configuration example:
server {
    listen 80;
    server_name your_domain.com;

    location / {
        proxy_pass http://127.0.0.1:9091; # Use the port of the desired torrent client
        proxy_set_header Host $host;
        proxy_set_header X-Real-IP $remote_addr;
    }
}
This approach not only simplifies access but also allows you to use SSL certificates for a secure connection.
Security and Leak Protection
Security is one of the key aspects of working with a seedbox. After all, by using a VPS to download and seed files, you are entrusting your data to a remote server. Here are some tips on how to ensure a high level of security:
- VPN and Proxy: It is recommended to use a VPN service or configure your own VPN on the VPS to encrypt all traffic. This will help hide your real IP address and prevent possible tracking.
- Firewall: Configure UFW or another firewall to restrict access to the ports used by torrent clients. Here is an example of basic configuration:
sudo ufw allow 9091/tcp
sudo ufw allow 8080/tcp
sudo ufw allow 8112/tcp
sudo ufw enable
- Updates: Regularly update the system and software to eliminate vulnerabilities.
- SSH Access: Use SSH keys instead of passwords and disable access via the standard port 22.
«Any sufficiently advanced technology is indistinguishable from magic.» — Arthur Clarke
By applying these measures, you will significantly reduce the risk of leaks and ensure stable operation of the seedbox.
Comparison Table: Transmission, qBittorrent, and Deluge
The table below compares three popular torrent clients based on key parameters and provides links to download and install them:
| Client | Pros | Cons | Download Link |
|---|---|---|---|
| Transmission |
|
| Transmission |
| qBittorrent |
|
| qBittorrent |
| Deluge |
|
| Deluge |
Conclusions
In this article, we took a detailed look at the process of setting up automatic downloading and seeding of files via a VPS (Seedbox). We learned that a seedbox is a powerful solution for those who want to ensure stable and fast torrenting, as well as maintain their anonymity on the network. Step by step, we went through the installation and configuration of three popular torrent clients: Transmission, qBittorrent, and Deluge, examined the specifics of working through the web interface, and discussed the most important security measures to protect against leaks.
Each of the clients discussed has its advantages and disadvantages, so the choice depends on your personal preferences and functional requirements. Using the instructions provided, you can create a reliable system for automatic downloading and seeding of files that will work around the clock and efficiently.
I hope this article was helpful and helped you understand the intricacies of setting up a seedbox. If you have any questions or want to share your experience, feel free to leave a comment. Good luck with the setup and safe torrenting!