Setting up GitLab on a VPS Server
This article will guide you through setting up GitLab on your VPS hosting server. GitLab is a powerful tool for code management and collaborative project work. Setting up GitLab on your VPS server allows you to easily manage your repositories and control your code versioning.Before you begin the GitLab installation and configuration, ensure you have a VPS server running Ubuntu 18.04 or a later version.
Step 1: Updating Packages
The first step before installing GitLab on your VPS server is to update all operating system packages. Execute the following commands:
sudo apt update
sudo apt upgrade
These commands update all your OS packages to the latest versions, preventing potential issues during GitLab installation.
Step 2: Installing GitLab
Once you’ve updated all packages, you can proceed with GitLab installation. Execute the following commands:
sudo apt install curl openssh-server ca-certificates postfix
curl -sS https://packages.gitlab.com/install/repositories/gitlab/gitlab-ee/script.deb.sh | sudo bash
sudo EXTERNAL_URL="http://gitlab.example.com" apt install gitlab-ee
These commands will install the necessary dependencies and GitLab itself. After installation, GitLab will be accessible at the address you specified in the EXTERNAL_URL variable.
Step 3: Configuring GitLab
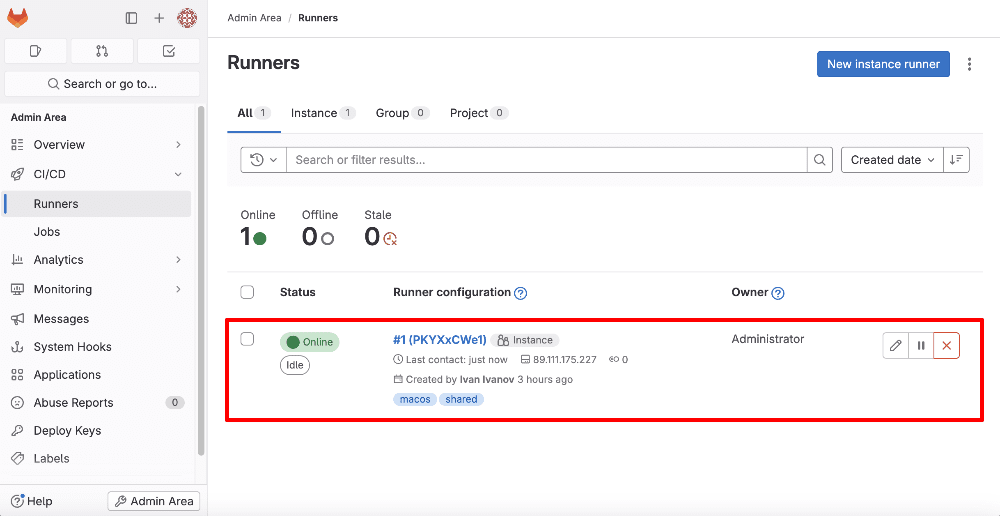
After installing GitLab, you need to perform the initial configuration. Open your preferred browser and navigate to the address you specified in the EXTERNAL_URL variable. You will be prompted to create an administrator account and configure your GitLab repositories.
Congratulations! You have now successfully installed and configured GitLab on your VPS server. Enjoy managing your code and collaborating on projects!


