Creating a Virtual Host on a Debian 10 Server
This article outlines the steps for creating a virtual host on a server running Debian 10. A virtual host allows you to manage multiple websites on a single server, leading to more efficient resource utilization and simplified administration.
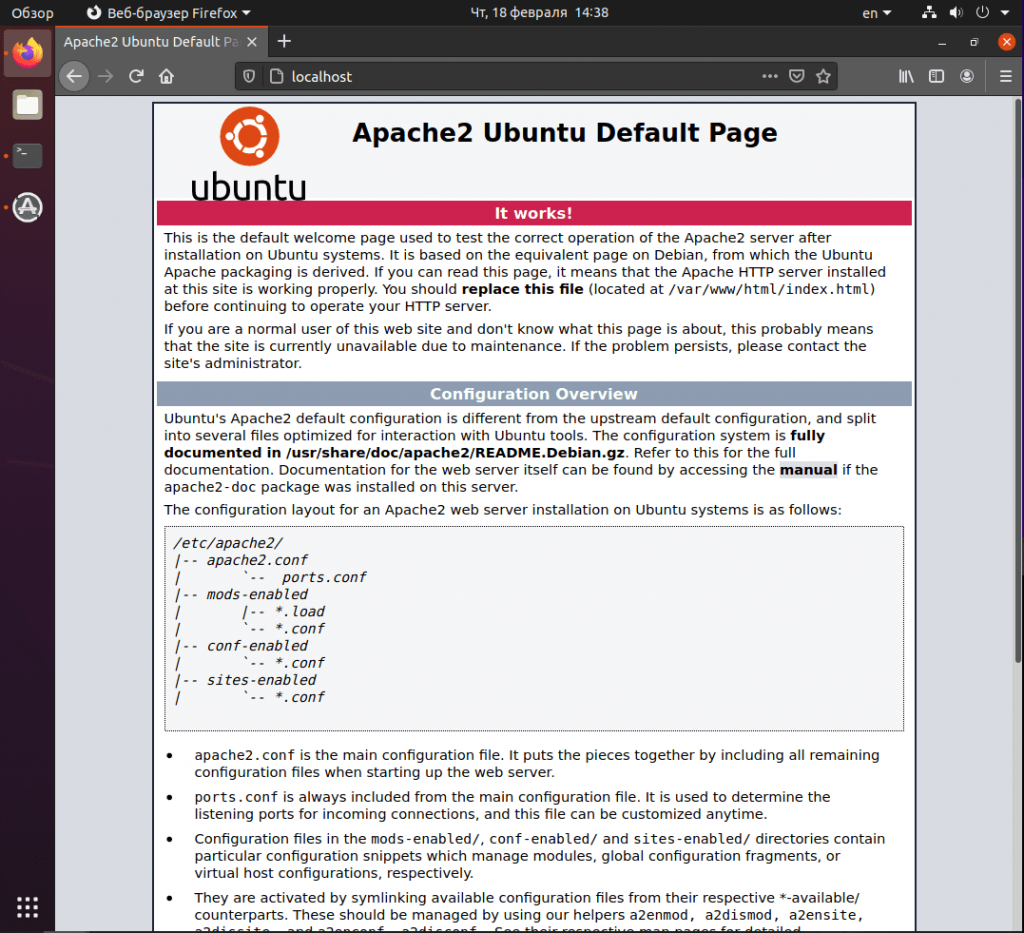
The first step is to install the Apache web server. Execute the following command in your terminal:
sudo apt update
sudo apt install apache2
After installing Apache, you need to enable the mod_rewrite module, which allows URL rewriting. Run this command:
sudo a2enmod rewrite
Next, create a directory for your virtual host. For example, to create a virtual host named “example.com”, run:
sudo mkdir /var/www/example.com
Now, configure the virtual host. Create a configuration file for the “example.com” virtual host using a text editor, such as nano:
sudo nano /etc/apache2/sites-available/example.com.conf
Paste the following configuration example into the file:
<VirtualHost *:80>
    ServerAdmin admin@example.com
    ServerName example.com
    ServerAlias www.example.com
    DocumentRoot /var/www/example.com
    ErrorLog ${APACHE_LOG_DIR}/error.log
    CustomLog ${APACHE_LOG_DIR}/access.log combined
</VirtualHost>
Save and close the file, then activate the virtual host using this command:
sudo a2ensite example.com
Reload Apache to apply the changes:
sudo systemctl reload apache2
Your virtual host is now configured and ready to use. You can add website files to the /var/www/example.com directory and configure DNS for your domain name.
Setting up a virtual host on a Debian 10 server isn’t as complicated as it might seem at first glance. By following these steps, you can efficiently manage multiple websites on a single server and ensure reliable access for your users.


![How to Set Up Automated VDS Backups in [Platform/Location]](https://valebyte.com/blog/wp-content/uploads/2025/11/leonardo_3b4910a9-300x169.jpg)
