How to Configure IMAP/POP3 on a VPS Server?
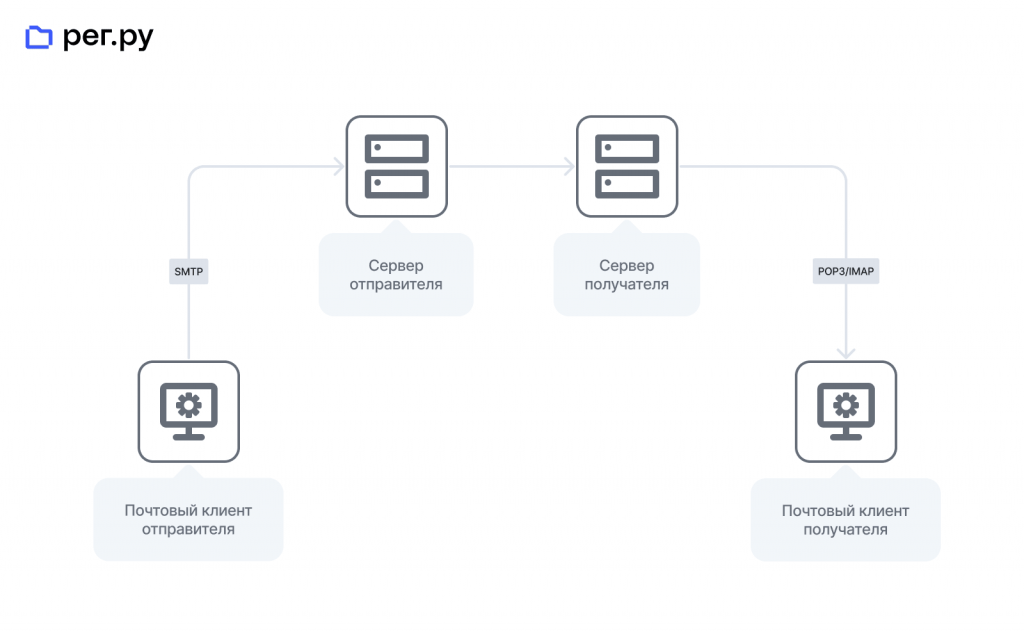
IMAP (Internet Message Access Protocol) and POP3 (Post Office Protocol 3) are two popular protocols for receiving email. If you have your own VPS hosting server and want to configure IMAP/POP3 to work with your email, follow the instructions below.1. Install and configure a mail server on your VPS. You can use programs like Postfix, Dovecot, or Exim for this. They will allow you to not only send but also receive mail on your server.
2. After installing the mail server, open the configuration file for the corresponding protocol. For example, for IMAP, this might be the imapd.conf file, and for POP3, it might be pop3d.conf. These files are usually located in the /etc or /etc/dovecot directory.
3. Make the necessary settings according to your requirements. For example, specify the ports on which the server will run, configure SSL/TLS encryption, choose an authentication method, etc.
4. After making changes to the configuration file, restart the mail server service. You can use the command service dovecot restart or service postfix restart, depending on the mail server you have chosen.
5. Check the operation of the IMAP/POP3 server using an email client such as Outlook, Thunderbird, or any other application. Specify the following parameters: server address (usually mail.domain.com), port (usually 993 for IMAP and 995 for POP3), username, and password.
Congratulations! You now have an IMAP/POP3 server configured on your VPS. You can easily receive and send emails using your own server.
By following these instructions, you can quickly and easily configure IMAP/POP3 on your VPS server. Good luck!