How to Restore Files Using Backup Exec on a VPS?
Virtual Private Servers (VPS hosting) are a popular choice for many businesses for data storage and processing. However, no matter how securely you store files on your VPS, there’s always a chance of data loss due to user errors, viruses, or other issues.In such situations, having a data backup is vital. Backup Exec is popular backup and recovery software. This guide will help you restore files using Backup Exec on your VPS.
Step 1: Install Backup Exec on Your VPS
The first step in restoring files using Backup Exec is installing the software on your virtual server. Ensure you have the latest version of the program and all necessary drivers installed.
To install Backup Exec, execute the following commands in your VPS terminal:
sudo apt update
sudo apt install backupexec
Step 2: Create a Data Backup on Your VPS
After installing Backup Exec, you need to create a backup of your VPS data. This can be done using commands within the program or by setting up a schedule for automatic backups.
To create a backup, follow these steps:
- Open Backup Exec on your VPS
- Select the data you want to back up
- Specify the backup storage location
- Click “Create Backup”
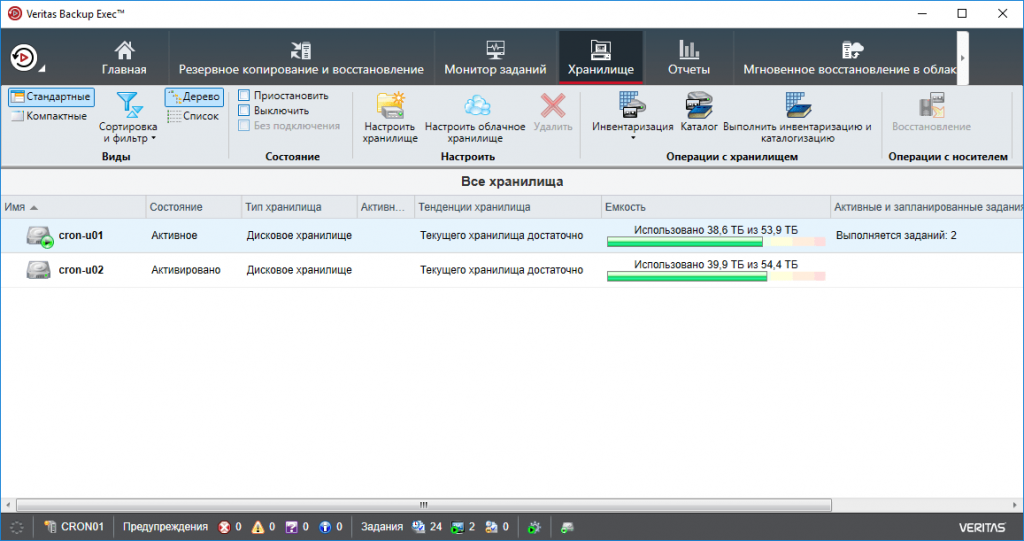
Step 3: Restore Files with Backup Exec
If your files have been corrupted or deleted, you can restore them using Backup Exec. Follow these steps:
Open Backup Exec and navigate to the file recovery section. Select the files to restore and specify the restore location. Click “Restore” to begin the process.
Once the process is complete, your files will be restored to your VPS and available for use.
Restoring files using Backup Exec on your VPS is that simple. Remember to regularly back up your data to minimize the risks of information loss.