How to Install Nginx on Ubuntu 18.04
Welcome! Today we’ll discuss how to install the Nginx web server on the Ubuntu 18.04 operating system. Nginx is a powerful and efficient server widely used for hosting websites. If you want to set up your own server for hosting websites, this guide will help you install Nginx and get started with it.
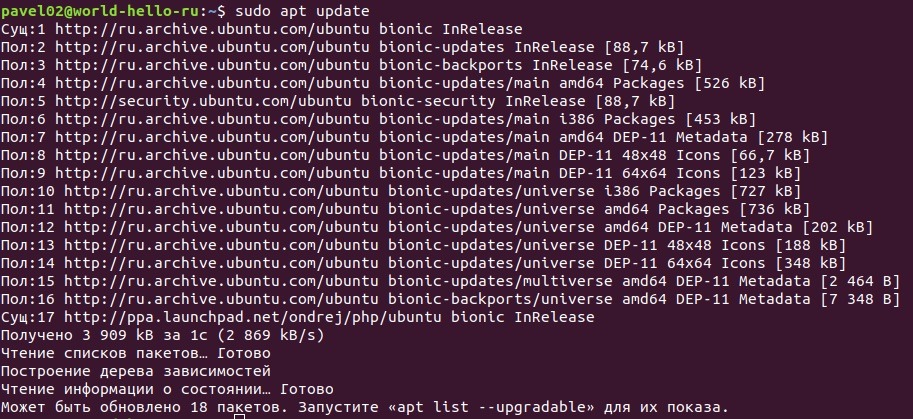
Step 1: Updating the System
Before installing Nginx, it’s recommended to update all packages on your operating system. To do this, run the following command in the terminal:
sudo apt update
sudo apt upgrade
Step 2: Installing Nginx
After updating the system, you can proceed with the Nginx installation. To do this, execute the following command:
sudo apt install nginx
Confirm the installation by pressing Y and wait for the installation process to complete.
Step 3: Verifying the Installation
To ensure that Nginx is installed correctly, open a web browser and enter your server’s servers with IP addresses in the address bar. If you see the standard Nginx welcome page, the installation was successful.Step 4: Managing the Nginx Service
To start, stop, or restart the Nginx service, use the following commands:
sudo systemctl start nginx– start the Nginx servicesudo systemctl stop nginx– stop the Nginx servicesudo systemctl restart nginx– restart the Nginx service
You now have a working Nginx web server on Ubuntu 18.04! Enjoy its power and efficiency in hosting your websites.


![How to Set Up Automated VDS Backups in [Platform/Location]](https://valebyte.com/blog/wp-content/uploads/2025/11/leonardo_3b4910a9-300x169.jpg)