Installing MediaWiki on a CentOS VPS
MediaWiki is a free and open-source content management system widely used for creating wiki websites. If you have a VPS hosting server running CentOS, you can easily install MediaWiki and start building your own wiki pages. This article details the process of installing MediaWiki on a CentOS VPS server.Step 1: Updating the System
Before installing MediaWiki on your CentOS VPS, ensure your system is updated to the latest version. Execute the following commands in your terminal:
sudo yum update
sudo yum upgrade
Step 2: Installing Required Packages
To install MediaWiki on a CentOS server, you’ll need the Apache web server, a MySQL database, and PHP. Run the following commands in your terminal to install the necessary packages:
sudo yum install httpd mariadb-server php php-mysql php-gd php-xml php-mbstring
Step 3: Database Configuration
Create a new MySQL database and user for MediaWiki. Execute the following commands in your terminal, replacing ‘password’ with your chosen password:
mysql -u root -p
CREATE DATABASE mediawiki;
GRANT ALL PRIVILEGES ON mediawiki.* TO 'mediawikiuser'@'localhost' IDENTIFIED BY 'password';
FLUSH PRIVILEGES;
EXIT;
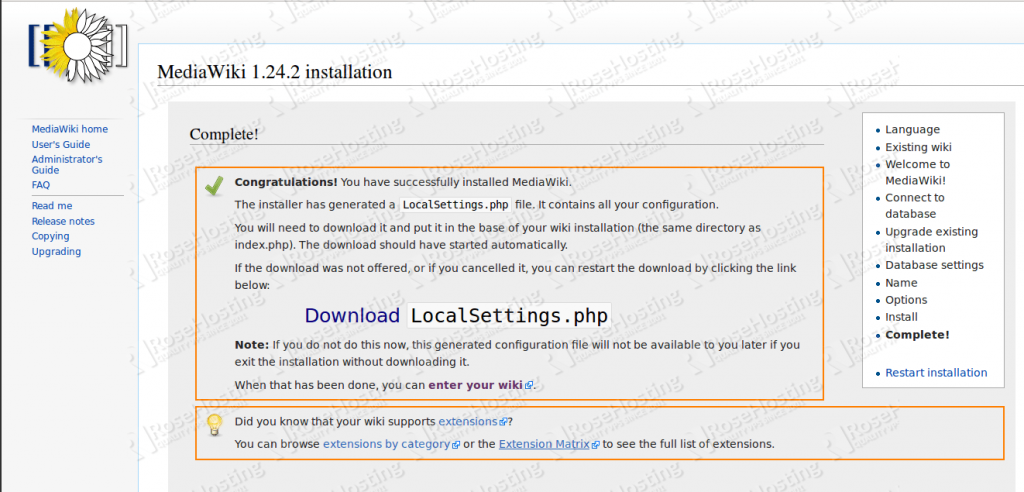
Step 4: Installing and Configuring MediaWiki
Download the latest version of MediaWiki from the official website and extract the archive to your web server’s directory. Then, access your server’s address in your browser and follow the MediaWiki installation wizard’s instructions. Enter the database credentials created in the previous step.
Step 5: Setting up Wiki Pages
After installing MediaWiki, you can start creating your wiki pages, editing content, and customizing the look and feel of your wiki site. MediaWiki offers extensive features for organizing information and collaborating on projects.
Follow the instructions in the MediaWiki documentation to master all the system’s functions and create a high-quality wiki resource on your CentOS VPS server.
Installing MediaWiki on a CentOS VPS is a simple and effective way to create your own wiki site. Follow our instructions and get started now!