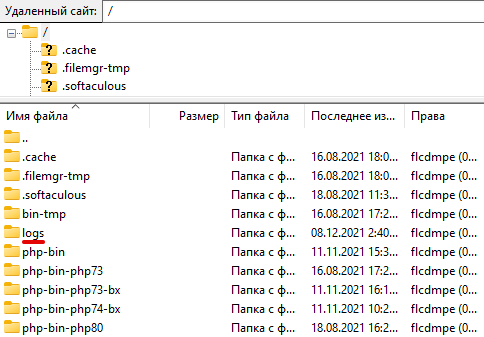
How to View Logs on a VPS?
Logs are an essential tool when working with a VPS. They help you track all the actions and events occurring on your server. In this article, we’ll explain in detail how you can view logs on a VPS.
1. Using the tail command
One of the simplest ways to view logs on a VPS is to use the tail command. This command allows you to view the contents of a log file in real-time. For example, to view the contents of the access.log file, you can use the following command:
tail -f /var/log/access.log
With this command, you can see the latest entries in the log file and track current events on the server.
2. Viewing logs with cat
Another way to view logs on a VPS is to use the cat command. This command allows you to view the entire contents of a log file. For example, to view the contents of the error.log file, you can use the following command:
cat /var/log/error.log
With the cat command, you can see all entries in the log file at once and quickly find the information you need.
3. Searching through logs
Often, there is a need to search through log files. For this, you can use the grep command. For example, to search for the string «500 Internal Server Error» in the access.log file, you can use the following command:
grep "500 Internal Server Error" /var/log/access.log
With this command, you can find all lines containing this phrase and quickly find and fix the problem.
4. Using specialized programs
If you are uncomfortable working with the command line, you can also use specialized programs for viewing log files, such as Logwatch, Logtail, or GoAccess. These programs provide a user-friendly graphical interface and additional features for analyzing logs.
Conclusion
Viewing logs on a VPS is an important part of server administration. Knowing the basic commands and methods of working with logs will help you quickly find and solve problems on the server. We hope that this article was helpful and will help you successfully administer your VPS.
«`