How to Set Up NordPass for Password Storage?
Storing passwords in a secure place is one of the most important aspects of online security. NordPass is an excellent solution for password storage and management. In this article, we will take a detailed look at how to set up NordPass to keep your information safe.
Step 1: Download and Install the Application
The first step in using NordPass is to download and install the application on your device. After installing the application, you will need to create an account or log in to an existing one.
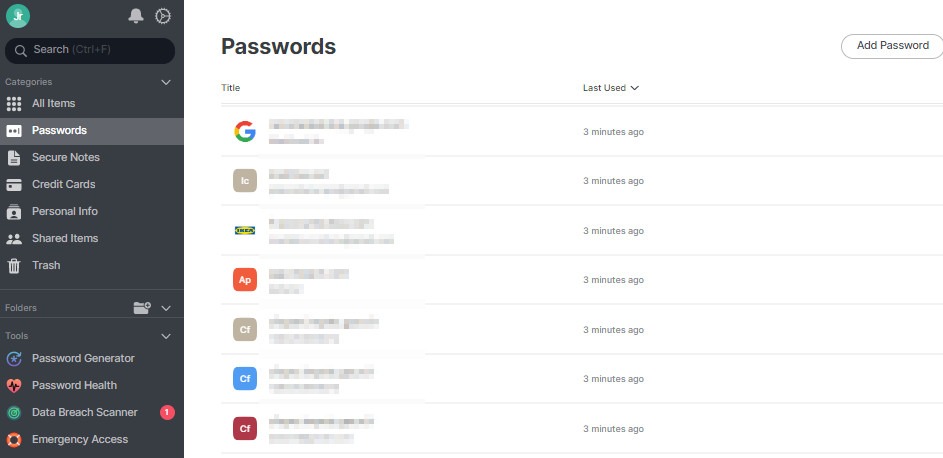
Step 2: Adding Passwords
After successfully logging into the application, you can start adding your passwords. Click on the «Add Password» button and enter the necessary information: the name of the website or service, login, password, and any other additional information.
Step 3: Using the Password Generator
To create strong passwords, it is recommended to use the password generator in NordPass. Click on the corresponding button and configure the parameters for the new password: length, use of digits, upper and lower case letters, and special characters.
Step 4: Data Synchronization
To have access to your passwords on different devices, you need to enable the synchronization function in NordPass. Open the application settings and activate synchronization for ease of use.
Step 5: Security and Saving
Don’t forget about the security of your data. Configure multi-factor authentication for access to NordPass, regularly change your passwords and monitor their complexity. It is also recommended to make backups of important data.
Conclusion
Setting up NordPass for password storage is an important step towards security in the online world. By following our instructions, you can keep your data in a safe place and calmly use Internet services without fear.