How to Configure DNSSEC on a VPS Server?
If you own a VPS hosting server and want to improve your domain’s security, one way to do so is by configuring DNSSEC. This technology helps protect your domains from various types of attacks, such as DNS spoofing.To configure DNSSEC on your server, you will need access to your hosting control panel and basic command-line knowledge. This article will guide you through the process.
Step 1: Checking DNSSEC Support
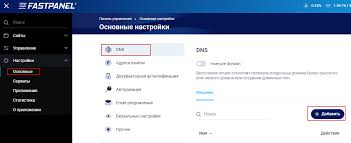
The first step before configuring DNSSEC on your VPS server is to check if your DNS provider supports this technology. You can find out whether your hosting supports DNSSEC by contacting their support team.
Step 2: Generating DNSSEC Keys
Once you’ve confirmed that your DNS provider supports DNSSEC, you need to generate DNSSEC keys. Use the following commands:
dnssec-keygen -a NSEC3PARAM -b 2048 -n ZONE example.com
dnssec-keygen -f KSK -a RSASHA256 -b 2048 -n ZONE example.com
Step 3: Adding Keys to the DNS Zone
After generating the keys, you need to add them to your DNS zone. Open your DNS zone file and add the following records:
; Public Key
example.com. IN DNSKEY 256 3 8 AwEAA...
; Signing Key
example.com. IN DNSKEY 257 3 8 AwEAA...
Step 4: Activating DNSSEC
After adding the keys to the DNS zone, you need to activate DNSSEC. Update the DNS zone and add the following record:
; Enabling DNSSEC
example.com. IN DS 12345 8 1 AB...
After this, DNSSEC will be activated on your VPS server, and your domain will be protected from various attacks.