After Reinstallation: First Steps
«`After successfully reinstalling the operating system on your VPS, you need to perform several important steps to ensure the security, stability, and optimal performance of the server. These first steps include updating the system, installing the necessary packages, configuring SSH access, setting up a firewall, and other basic configurations.
1. System Update:
The first thing to do after reinstalling the operating system is to update the system to the latest version. This ensures that you have the latest security patches and software updates installed. Depending on the Linux distribution you are using, the commands to update the system may differ.
For Debian/Ubuntu:
sudo apt update
sudo apt upgrade
For CentOS/RHEL:
sudo yum update
2. Installing Necessary Packages:
After updating the system, you need to install all the necessary packages that you will need for your VPS to work. These may include web servers (e.g., Apache or Nginx), databases (e.g., MySQL or PostgreSQL), programming languages (e.g., PHP, Python, Node.js), and other tools and libraries.
Example of installing the Nginx web server, MySQL database, and PHP (Debian/Ubuntu):
sudo apt install nginx mysql-server php php-fpm php-mysql
Example of installing the Apache web server, MariaDB database, and PHP (CentOS/RHEL):
sudo yum install httpd mariadb-server php php-mysql
3. Configuring SSH Access:
For secure management of your VPS, it is recommended to configure SSH access. This includes changing the root user password, disabling password access, and using SSH keys for authentication.
Changing the root user password:
sudo passwd root
Creating an SSH key (on your local computer):
ssh-keygen -t rsa -b 4096
Copying the SSH key to the VPS:
ssh-copy-id root@192.168.1.100
Disabling password access (in the /etc/ssh/sshd_config file):
PasswordAuthentication no
Restarting the SSH server:
sudo systemctl restart sshd
4. Configuring the Firewall:
To protect your VPS from unauthorized access, you need to configure a firewall. The most popular firewall in Linux is ufw (Uncomplicated Firewall). If you are using CentOS/RHEL, you can use firewalld.
Installing and configuring UFW (Debian/Ubuntu):
sudo apt install ufw
sudo ufw allow OpenSSH
sudo ufw allow 80/tcp
sudo ufw allow 443/tcp
sudo ufw enable
sudo ufw status
Installing and configuring Firewalld (CentOS/RHEL):
sudo yum install firewalld
sudo systemctl start firewalld
sudo systemctl enable firewalld
sudo firewall-cmd --permanent --add-service=ssh
sudo firewall-cmd --permanent --add-service=http
sudo firewall-cmd --permanent --add-service=https
sudo firewall-cmd --reload
sudo firewall-cmd --list-all
5. Setting the Time Zone:
Correctly setting the time zone is important for the correct operation of logs and scheduled tasks.
Setting the time zone (Debian/Ubuntu):
sudo dpkg-reconfigure tzdata
Setting the time zone (CentOS/RHEL):
sudo timedatectl set-timezone Europe/Moscow
sudo timedatectl status
6. System Monitoring:
Install system monitoring tools such as htop, iotop, vmstat to track resource usage and identify potential problems.
sudo apt install htop iotop
7. Regular Backups:
Set up regular backups of your data to protect it from loss in the event of a failure.
| Task | Command (Debian/Ubuntu) | Command (CentOS/RHEL) |
|---|---|---|
| System Update | sudo apt update && sudo apt upgrade | sudo yum update |
| Install Nginx | sudo apt install nginx | sudo yum install httpd |
| Install MySQL | sudo apt install mysql-server | sudo yum install mariadb-server |
| Enable UFW | sudo ufw enable | sudo systemctl start firewalld |
Performing these first steps after reinstalling the operating system will help you create a secure, stable, and productive VPS ready for operation.
Troubleshooting Common Issues
Reinstalling the operating system on a VPS may not always go smoothly. Various problems can arise during the process, from network problems to boot errors and service failures. In this section, we will look at the most common problems and how to solve them.
1. Network Issues:
After reinstalling the OS, you may experience problems with network connectivity. This could be due to incorrect network settings, missing drivers, or DNS issues.
- Checking Network Settings: Make sure the IP address, subnet mask, default gateway, and DNS servers are configured correctly. Check the network configuration file (for example,
/etc/network/interfacesin Debian/Ubuntu or/etc/sysconfig/network-scripts/ifcfg-eth0in CentOS/RHEL). - Checking Connectivity: Use the
pingcommand to check connectivity to other servers on the Internet. For example,ping google.com. If the ping fails, check that the default gateway and DNS servers are configured correctly. - Restarting the Network Service: Restart the network service to apply configuration changes. In Debian/Ubuntu, use the command
sudo systemctl restart networking. In CentOS/RHEL, use the commandsudo systemctl restart network. - Checking DNS: Make sure DNS servers are configured correctly and working. Use the command
nslookup google.comto check DNS. If DNS is not working, try using public DNS servers such as 8.8.8.8 (Google) or 1.1.1.1 (Cloudflare).
Example: Contents of the /etc/network/interfaces file (Debian/Ubuntu) with incorrect settings:
auto eth0
iface eth0 inet static
    address 192.168.1.100
    netmask 255.255.255.0
    gateway 192.168.1.254  # Incorrect gateway
    dns-nameservers 8.8.8.8 8.8.4.4
How to Reinstall the VPS Operating System?
Reinstalling the operating system on a Virtual Private Server (VPS hosting) is an important procedure, necessary in various situations: from eliminating serious failures to preparing the server for a new project with a clean configuration. This process may seem complicated, but by following the step-by-step instructions, you can easily and safely reinstall the OS on your VPS. In this article, we will take a detailed look at how to properly perform an operating system reinstallation, what methods exist, and what needs to be considered to avoid data loss and ensure stable server operation after the reinstallation. We will also look at typical problems that arise during the process and how to solve them. Ready to start?Contents:
- Preparation for Reinstallation
- Reinstalling the OS via Control Panel
- Reinstalling the OS via Console (VNC/SSH)
- After Reinstallation: First Steps
- Solving Common Problems
- Security and Optimal Configuration
Preparation for Reinstallation

Before you begin reinstalling the operating system on your VPS, it is crucial to prepare thoroughly to avoid data loss and ensure a smooth process. This stage includes backing up all important files, documenting the current server configuration, and understanding the available reinstallation methods. Neglecting these steps can lead to the loss of critical data and lengthy downtime.
1. Data Backup:
The most important step is to create a backup of all important data on your VPS. This can include websites, databases, configuration files, mailboxes, and any other files that you don’t want to lose. There are several ways to do this:
- Full Backup: Creating a complete disk image of your VPS. This can be done using utilities provided by your hosting provider, or using tools such as
ddorrsync. - Selective Backup: Copying only the files and databases that you need. This is a more laborious process, but it saves space and time during recovery.
- Using Cloud Services: Uploading backups to cloud storage such as Amazon S3, Google Cloud Storage, or Yandex.Disk. This provides additional security for your data.
Example command to create a full disk image (requires sufficient disk space or connection to external storage):
dd if=/dev/vda of=/mnt/backup/vps_backup.img bs=4096 conv=sync,noerrorExample command for selectively backing up a website and MySQL database:
tar -czvf /mnt/backup/website_backup.tar.gz /var/www/html/
mysqldump -u root -p your_password your_database > /mnt/backup/database_backup.sql
2. Documenting Server Configuration:
Before reinstalling the OS, you need to document the current configuration of your server. This will help you quickly restore the previous settings after reinstallation. It is important to record the following information:
- Network Settings: servers with IP addresses, subnet mask, default gateway, DNS servers.
- Web Server Configuration: (e.g., Apache or Nginx) — virtual hosts, SSL certificates, redirect rules.
- Database Configuration: versions, users, passwords, settings.
- Installed Software: list of installed packages, versions.
- Users and Groups: usernames, passwords, groups.
- Cron jobs: scheduled tasks.
Example Nginx configuration file (/etc/nginx/nginx.conf):
user www-data;
worker_processes auto;
pid /run/nginx.pid;
include /etc/nginx/modules-enabled/*.conf;

events {
    worker_connections 768;
}

http {
    include       /etc/nginx/mime.types;
    default_type  application/octet-stream;

    sendfile        on;
    keepalive_timeout  65;

    gzip on;
    gzip_disable "msie6";

    include /etc/nginx/conf.d/*.conf;
    include /etc/nginx/sites-enabled/*;
}
Example command to view installed packages (Debian/Ubuntu):
dpkg --get-selections | grep -v deinstall
3. Choosing a Reinstallation Method:
There are several ways to reinstall the OS on a VPS, depending on your hosting provider and your preferences:
- Via Control Panel: Most hosting providers provide a web interface for reinstalling the OS. This is the easiest and fastest way.
- Via Console (VNC/SSH): Some providers provide access to your VPS console, which allows you to install the OS from an ISO image. This is a more complex but more flexible method.
- Automated Scripts: Some users create their own scripts to automate the reinstallation process.
Make sure you know which method is available to you and what it entails. Check your hosting provider’s documentation for details.
4. Checking Availability of Necessary Resources:
Make sure you have access to the VPS control panel, console (VNC/SSH), or any other tool you will need for reinstallation. Check your credentials and make sure they work.
Preparation is the key to a successful operating system reinstallation. Devote enough time to backing up data and documenting the configuration to avoid unpleasant surprises.
«Backup is not a luxury, but a necessity. It is better to be safe than sorry.»
— Dmitry Ivanov, System Administrator with 15 years of experience
Reinstalling the OS via Control Panel

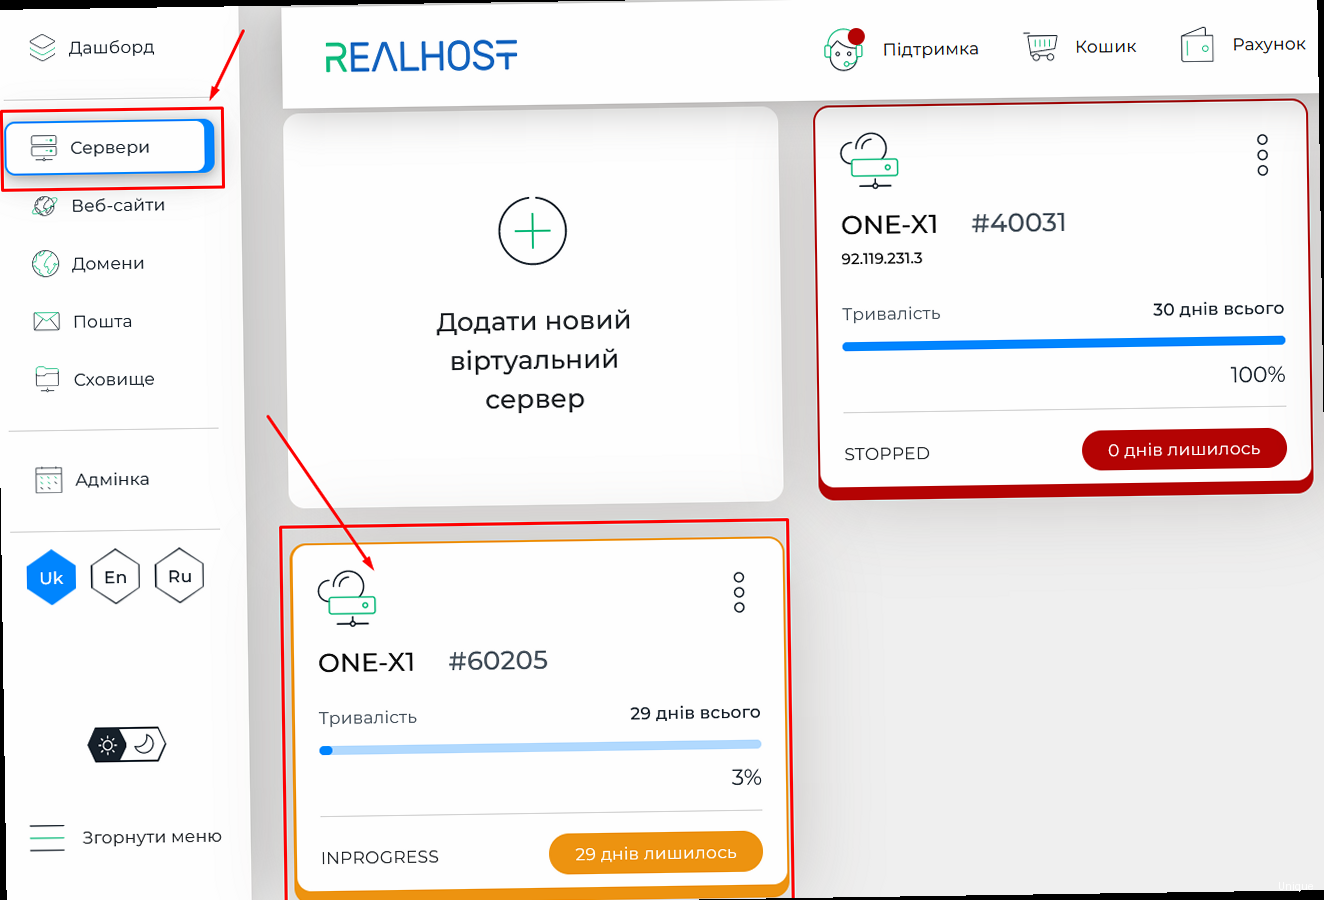
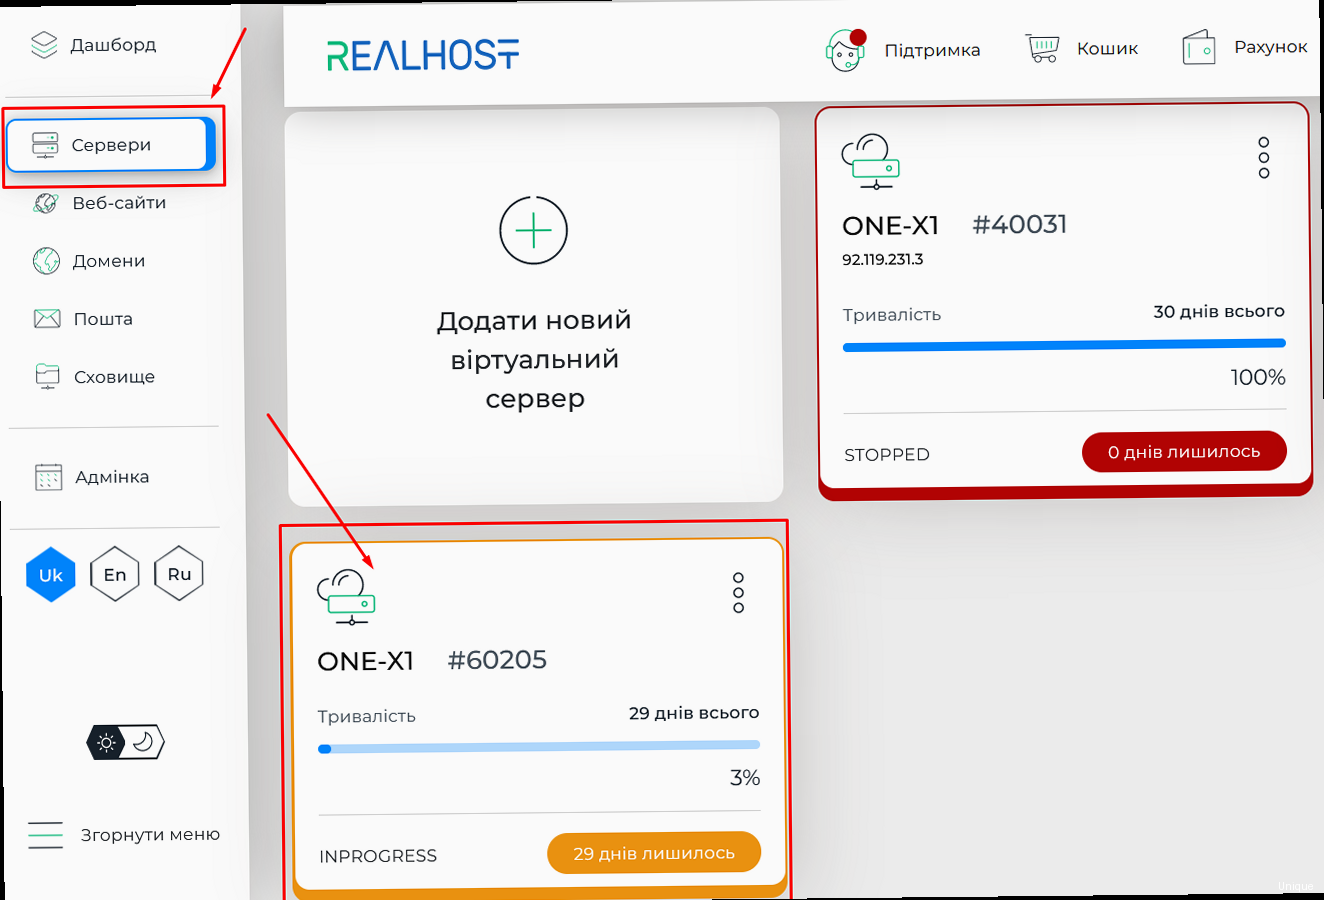
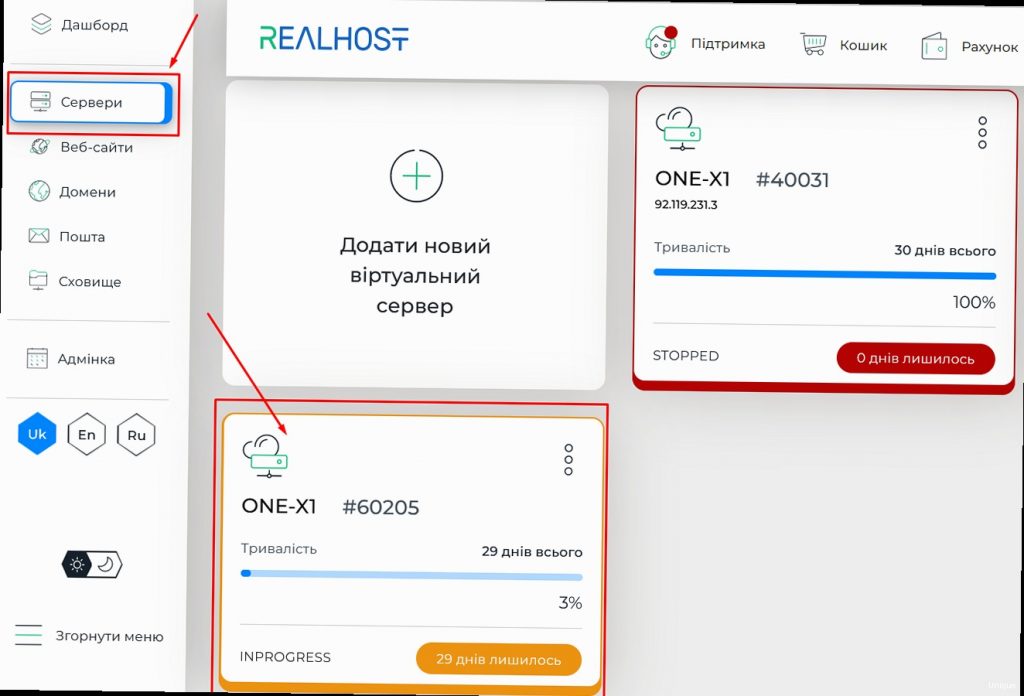
Reinstalling the operating system through the control panel provided by your hosting provider is the easiest and fastest way to accomplish this task. Most hosting providers, such as DigitalOcean, Vultr, Linode, and others, offer convenient web interfaces that allow you to reinstall the OS in just a few clicks. Let’s take a closer look at this process.
1. Logging into the Control Panel:
The first step is to log into your VPS control panel. This usually requires entering your login and password on the hosting provider’s website.
2. Finding the «Reinstall OS» or «Reinstall OS» Option:
After logging into the control panel, find the option that allows you to reinstall the operating system. The name of this option may vary depending on your hosting provider, but it is usually something like «Reinstall OS», «Redeploy», «Rebuild», or «Reset». It is usually located in the server management or settings section.
3. Choosing an Operating System:
After selecting the OS reinstallation option, you will be prompted to select a new operating system. A list of available Linux distributions (e.g., Ubuntu, Debian, CentOS, Fedora) and possibly Windows Server is usually provided. Choose the operating system you want to install. Note that choosing a newer OS version may require more resources from the VPS.
4. Confirming and Starting the Reinstallation Process:
After selecting the operating system, you will be prompted to confirm your selection. Carefully read the warnings that may be displayed, especially those regarding data loss. If you are sure that you have backed up all important data, confirm the reinstallation. The reinstallation process can take from a few minutes to an hour, depending on the network speed and the size of the operating system image.
5. Waiting for the Reinstallation to Complete:
During the reinstallation, do not close the browser window or interrupt the process. After the reinstallation is complete, you will receive a notification. Some control panels display the reinstallation progress in real time.
Example: Reinstalling the OS in DigitalOcean:
- Log in to the DigitalOcean control panel.
- Select your VPS (Droplet).
- Go to the «Settings» section.
- Select the «Recovery» tab.
- Click the «Rebuild» button.
- Select the operating system and version.
- Confirm the reinstallation by entering the name of your Droplet.
- Wait for the process to complete.
Example: Reinstalling the OS in Vultr:
- Log in to the Vultr control panel.
- Select your VPS (Instance).
- Go to the «Operating System» section.
- Click the «Change Operating System» button.
- Select the operating system and version.
- Confirm the reinstallation.
- Wait for the process to complete.
Important points:
- Data Loss: Reinstalling the operating system will delete all data from your VPS. Make sure you have backed up all important files.
- Reinstallation Time: The reinstallation process may take some time. Do not interrupt it.
- Automatic Configuration: Some hosting providers offer automatic server configuration after reinstallation. For example, installing a control panel (cPanel, Plesk) or basic packages.
- Connection Check: After reinstallation, check the connection to your VPS via SSH or VNC.
Reinstalling the OS through the control panel is a convenient and fast way, but always remember to back up your data and carefully follow the instructions of your hosting provider.
Reinstalling the OS via Console (VNC/SSH)
Reinstalling the operating system via the console (VNC/SSH) is a more complex, but also more flexible way that allows you to install the OS from an ISO image. This method requires more technical knowledge and time, but it gives you complete control over the installation process. This method is especially useful if you need to install an operating system that is not offered in the control panel, or if you want to use your own settings and parameters.
1. Console Access:
The first step is to get access to your VPS console. Most hosting providers provide access to VNC (Virtual Network Computing) or SSH (Secure Shell). VNC allows you to get graphical access to your VPS, as if you were working at a computer connected to it. SSH provides access to the command line.
To access VNC, you usually need to install a VNC client on your computer and connect to the VPS using the IP address and port provided by your hosting provider. To access SSH, you will need an SSH client, such as PuTTY (for Windows) or a built-in terminal (for Linux and macOS). Connect to the VPS using the IP address, port, and login/password.
Example command to connect to a VPS via SSH:
ssh root@192.168.1.100 -p 22
Where 192.168.1.100 is the IP address of your VPS, 22 is the SSH port (port 22 is usually used, but it can be changed).
2. Downloading the ISO Image:
After gaining access to the console, you need to download the ISO image of the operating system you want to install. You can download the ISO image from the official website of the Linux or Windows Server distribution.
If you have SSH access, you can download the ISO image directly to the VPS using tools such as wget or curl. If you only have VNC access, you may need to first download the ISO image to your computer and then upload it to the VPS via a VNC client (if it supports file transfer).
Example command to download the Ubuntu Server ISO image using wget:
wget http://releases.ubuntu.com/20.04/ubuntu-20.04.4-live-server-amd64.iso
3. Mounting the ISO Image (if necessary):
In some cases (for example, when using KVM), you may need to mount the ISO image to the virtual CD-ROM drive of your VPS. This can be done through your hosting provider’s control panel or with a command in the console (if available).
4. Booting from the ISO Image:
After downloading the ISO image, you need to reboot the VPS and tell the BIOS to boot from the CD-ROM (or virtual CD-ROM if you mounted the ISO image). This is usually done by pressing a key (e.g., Delete, F2, F12, Esc) during boot to enter the BIOS. In the BIOS, select CD-ROM as the first boot device. Note that this feature is not always available on VPS, and the process may vary depending on the virtualization system used.
5. Installing the Operating System:
After booting from the ISO image, the operating system installation process will begin. Follow the on-screen instructions to select a language, keyboard layout, disk partitions, create users, and install the necessary packages. Carefully read all questions and select the appropriate options.
Example: Disk partitioning when installing Linux:
/(root partition): Location for installing the operating system and most programs. Recommended size: 20-50 GB./boot: Partition for the operating system loader (GRUB). Recommended size: 500 MB./swap: Partition for swapping (used when there is not enough RAM). Recommended size: equal to the amount of RAM (or more if you have little RAM)./home: Partition for storing user files. Takes up the remaining space on the disk.
6. Completing the Installation:
After completing the installation, reboot the VPS. Make sure the hard drive is set as the first boot device in the BIOS. After the reboot, the operating system should boot from the hard drive.
7. Configuring the Network:
After installing the operating system, you need to configure the network. Specify the IP address, subnet mask, default gateway, and DNS servers provided by your hosting provider. This can be done by editing the network configuration files or using graphical tools (if available).
Example network configuration file (/etc/network/interfaces in Debian/Ubuntu):
auto eth0
iface eth0 inet static
    address 192.168.1.100
    netmask 255.255.255.0
    gateway 192.168.1.1
    dns-nameservers 8.8.8.8 8.8.4.4
8. Checking the Connection:
After configuring the network, check the connection to your VPS via SSH or VNC. Make sure you can connect to the VPS and that you have access to the Internet.
Reinstalling the operating system via the console is a complex process that requires technical knowledge and attentiveness. However, it gives you complete control over the installation process and allows you to install an operating system that is not offered in the control panel.
«Control over the installation process is the key to a stable and secure system.»
— Alexey Petrov, DevOps Engineer
After Reinstallation: First Steps
«`After successfully reinstalling the operating system on your VPS, you need to perform several important steps to ensure the security, stability, and optimal performance of the server. These first steps include updating the system, installing the necessary packages, configuring SSH access, setting up a firewall, and other basic configurations.
1. System Update:
The first thing to do after reinstalling the operating system is to update the system to the latest version. This ensures that you have the latest security patches and software updates installed. Depending on the Linux distribution you are using, the commands to update the system may differ.
For Debian/Ubuntu:
sudo apt update
sudo apt upgrade
For CentOS/RHEL:
sudo yum update
2. Installing Necessary Packages:
After updating the system, you need to install all the necessary packages that you will need for your VPS to work. These may include web servers (e.g., Apache or Nginx), databases (e.g., MySQL or PostgreSQL), programming languages (e.g., PHP, Python, Node.js), and other tools and libraries.
Example of installing the Nginx web server, MySQL database, and PHP (Debian/Ubuntu):
sudo apt install nginx mysql-server php php-fpm php-mysql
Example of installing the Apache web server, MariaDB database, and PHP (CentOS/RHEL):
sudo yum install httpd mariadb-server php php-mysql
3. Configuring SSH Access:
For secure management of your VPS, it is recommended to configure SSH access. This includes changing the root user password, disabling password access, and using SSH keys for authentication.
Changing the root user password:
sudo passwd root
Creating an SSH key (on your local computer):
ssh-keygen -t rsa -b 4096
Copying the SSH key to the VPS:
ssh-copy-id root@192.168.1.100
Disabling password access (in the /etc/ssh/sshd_config file):
PasswordAuthentication no
Restarting the SSH server:
sudo systemctl restart sshd
4. Configuring the Firewall:
To protect your VPS from unauthorized access, you need to configure a firewall. The most popular firewall in Linux is ufw (Uncomplicated Firewall). If you are using CentOS/RHEL, you can use firewalld.
Installing and configuring UFW (Debian/Ubuntu):
sudo apt install ufw
sudo ufw allow OpenSSH
sudo ufw allow 80/tcp
sudo ufw allow 443/tcp
sudo ufw enable
sudo ufw status
Installing and configuring Firewalld (CentOS/RHEL):
sudo yum install firewalld
sudo systemctl start firewalld
sudo systemctl enable firewalld
sudo firewall-cmd --permanent --add-service=ssh
sudo firewall-cmd --permanent --add-service=http
sudo firewall-cmd --permanent --add-service=https
sudo firewall-cmd --reload
sudo firewall-cmd --list-all
5. Setting the Time Zone:
Correctly setting the time zone is important for the correct operation of logs and scheduled tasks.
Setting the time zone (Debian/Ubuntu):
sudo dpkg-reconfigure tzdata
Setting the time zone (CentOS/RHEL):
sudo timedatectl set-timezone Europe/Moscow
sudo timedatectl status
6. System Monitoring:
Install system monitoring tools such as htop, iotop, vmstat to track resource usage and identify potential problems.
sudo apt install htop iotop
7. Regular Backups:
Set up regular backups of your data to protect it from loss in the event of a failure.
| Task | Command (Debian/Ubuntu) | Command (CentOS/RHEL) |
|---|---|---|
| System Update | sudo apt update && sudo apt upgrade | sudo yum update |
| Install Nginx | sudo apt install nginx | sudo yum install httpd |
| Install MySQL | sudo apt install mysql-server | sudo yum install mariadb-server |
| Enable UFW | sudo ufw enable | sudo systemctl start firewalld |
Performing these first steps after reinstalling the operating system will help you create a secure, stable, and productive VPS ready for operation.
Troubleshooting Common Issues
Reinstalling the operating system on a VPS may not always go smoothly. Various problems can arise during the process, from network problems to boot errors and service failures. In this section, we will look at the most common problems and how to solve them.
1. Network Issues:
After reinstalling the OS, you may experience problems with network connectivity. This could be due to incorrect network settings, missing drivers, or DNS issues.
- Checking Network Settings: Make sure the IP address, subnet mask, default gateway, and DNS servers are configured correctly. Check the network configuration file (for example,
/etc/network/interfacesin Debian/Ubuntu or/etc/sysconfig/network-scripts/ifcfg-eth0in CentOS/RHEL). - Checking Connectivity: Use the
pingcommand to check connectivity to other servers on the Internet. For example,ping google.com. If the ping fails, check that the default gateway and DNS servers are configured correctly. - Restarting the Network Service: Restart the network service to apply configuration changes. In Debian/Ubuntu, use the command
sudo systemctl restart networking. In CentOS/RHEL, use the commandsudo systemctl restart network. - Checking DNS: Make sure DNS servers are configured correctly and working. Use the command
nslookup google.comto check DNS. If DNS is not working, try using public DNS servers such as 8.8.8.8 (Google) or 1.1.1.1 (Cloudflare).
Example: Contents of the /etc/network/interfaces file (Debian/Ubuntu) with incorrect settings:
auto eth0
iface eth0 inet static
    address 192.168.1.100
    netmask 255.255.255.0
    gateway 192.168.1.254  # Incorrect gateway
    dns-nameservers 8.8.8.8 8.8.4.4


