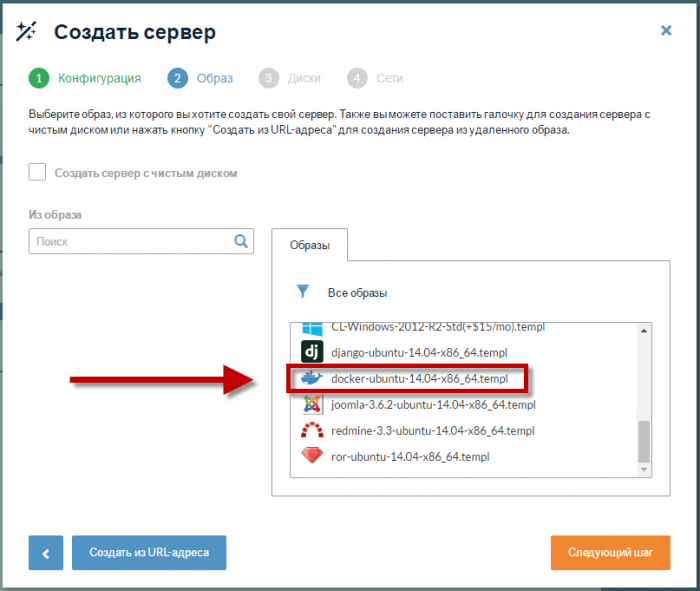
How to Install Docker on a VPS?
Docker is a powerful tool for managing containerized applications. Installing Docker on a VPS allows you to quickly deploy and scale applications in isolated environments. In this article, we’ll show you how to install Docker on a virtual server.
Step 1: Update the System
Before installing Docker, it’s recommended to update your system. To do this, run the following command:
sudo apt-get update
sudo apt-get upgrade
Step 2: Install Necessary Packages
Installing Docker requires certain packages. Execute the following commands:
sudo apt-get install apt-transport-https ca-certificates curl software-properties-common
Step 3: Add the GPG Key for the Docker Repository
Add the GPG key to verify the authenticity of the Docker packages:
curl -fsSL https://download.docker.com/linux/ubuntu/gpg | sudo apt-key add -
Step 4: Add the Docker Repository to the Package Sources List
Add the Docker repository to the list of package sources:
sudo add-apt-repository \
   "deb [arch=amd64] https://download.docker.com/linux/ubuntu \
   $(lsb_release -cs) \
   stable"
Step 5: Install Docker
Now, install Docker using the following command:
sudo apt-get update
sudo apt-get install docker-ce
Step 6: Add User to the Docker Group
Add your user to the Docker group to avoid using sudo every time you run Docker:
sudo usermod -aG docker $USER
Now you can restart the system for the changes to take effect. Congratulations, you have successfully installed Docker on your VPS!
- Docker is a convenient tool for containerizing applications.
- Installing Docker on a VPS allows you to scale applications in isolated environments.
- Follow the steps provided to install Docker on your virtual server.