How to Install Antivirus on a Server?
Antivirus software on a server is a necessity in our modern world, where data preservation and security are key. Installing antivirus on a server can help protect your system from malware and other threats.
This process may seem complicated to some users, but by following this simple guide, you can easily install antivirus on your server.
Step 1: Choosing Antivirus Software
The first step is to choose the right antivirus software for your server. There are many options on the market, so it’s important to choose one that fits your needs and budget.
Some of the popular antivirus programs for servers include Avast, Kaspersky, Norton, and McAfee. Do some research and choose the one that suits you best.
Step 2: Purchasing and Downloading the Software
Once you have chosen your antivirus software, purchase it and download it to your server. Follow the instructions on the vendor’s website to properly install the program.
Don’t forget to back up your data before installing the antivirus to avoid data loss in case of problems during the installation process.
Step 3: Installing the Antivirus
After downloading the antivirus software to the server, begin the installation process. Follow the on-screen instructions to complete the installation.
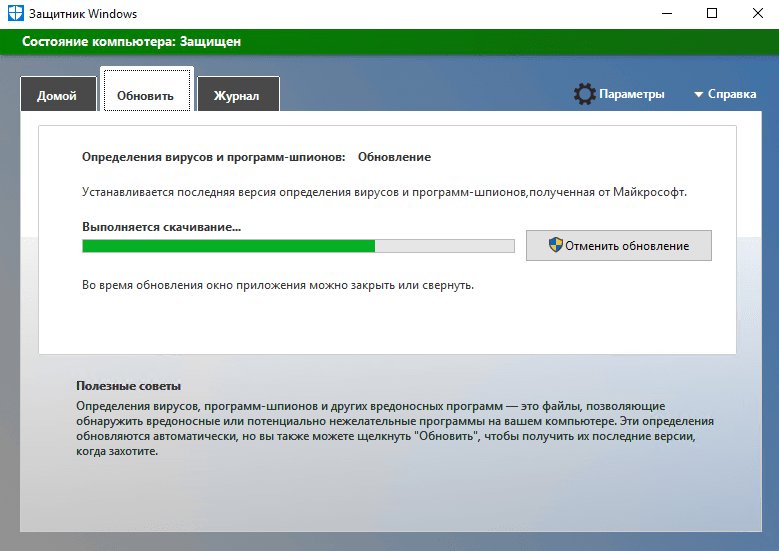
After the installation is complete, launch the program and update the virus databases so that your server is protected from the latest threats and viruses.
Step 4: Scheduling Regular Updates and Scans
To ensure reliable server protection, it is important to schedule regular system updates and scans for viruses and threats. Set a schedule for updates and scans to keep your server protected.
Don’t forget to monitor antivirus software notifications and respond to them to quickly eliminate detected threats.
Conclusion
Installing antivirus on a server is an important step in ensuring the security of your data and system as a whole. By following these simple steps, you can easily install antivirus and keep it running for maximum protection.