How to Change Hostname on a VPS?
Changing the hostname on a virtual private server (VPS) is an important process that can help you simplify your server management. In this article, we will look at how you can change the hostname on a VPS using the command line and a text editor.
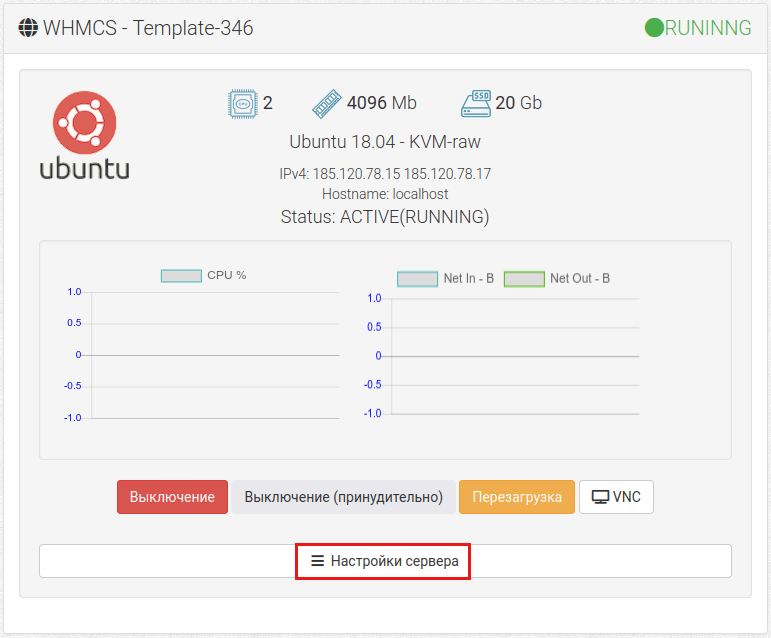
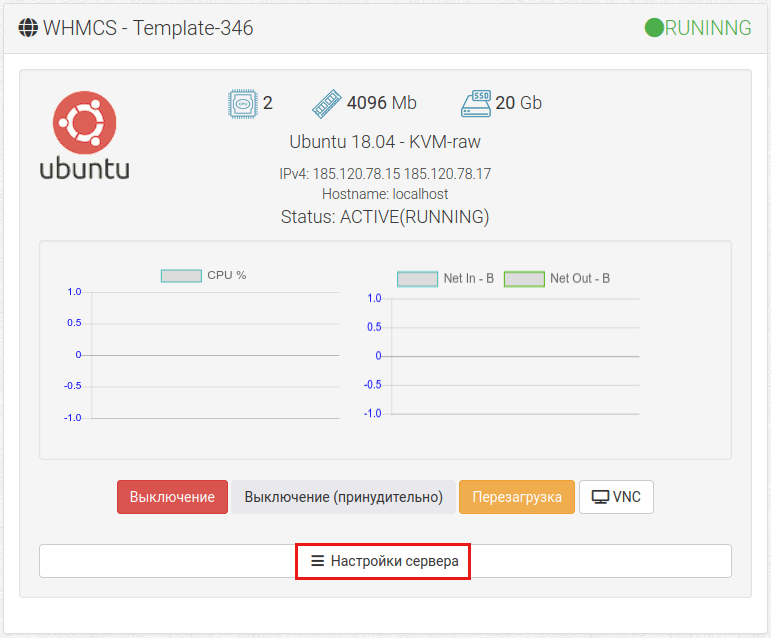
First of all, let’s define what a hostname is. A hostname is a unique name that identifies your server on a network. By default, when you rent a virtual server, it is assigned a standard name that may be inconvenient for you. By changing the hostname to something more convenient, you can easily determine which server you are on.
How to Change the Hostname on a VPS Using the Command Line?
To change the hostname on a VPS, you need to connect to the server via SSH. Then follow these steps:
sudo hostname new_hostname— this command changes the hostname temporarily until the server is rebootedsudo nano /etc/hostname— open the hostname file in the nano text editornew_hostname— enter the new hostname in this filesudo nano /etc/hosts— open the hosts file in the nano text editor- Enter the new hostname in the line with your IP address
- Reboot the server for the changes to take effect
After completing these steps, your new hostname will be applied to your VPS. Now you can easily determine which server you are on.
Conclusion
Changing the hostname on a VPS can be useful and help you simplify your server management. By following our instructions, you can easily change the hostname on your VPS and configure it to your liking.
Don’t forget to save the old hostname in case you need to revert to it in the future. We wish you successful hostname change on your VPS!


