How to Back Up Your Windows VPS?
A Windows VPS hosting is a great solution for data storage and running online projects. However, it’s crucial to remember the importance of creating backups to protect your information from loss. This article will guide you through the process of backing up your Windows VPS.1. Identify the Data to Be Saved
Before you start creating a backup, identify the data you want to save. This might include files, databases, configuration files, and so on. Make sure you’ve included all necessary files in your backup list.
2. Utilize Built-in Windows Tools
Windows VPS offers several built-in tools for creating backups. One of the most popular is Windows Server Backup. This tool provides reliable data backup and facilitates easy restoration if needed.
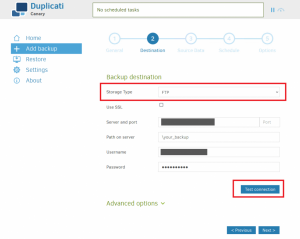
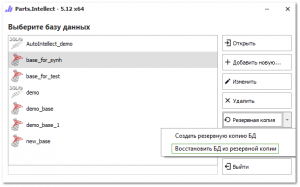
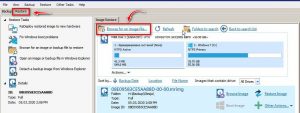
3. Use Third-Party Backup Software
The market also offers numerous third-party backup programs for Windows VPS. Some offer additional features such as automated backups, advanced settings, and more. Choose a program that meets your needs.
4. Establish a Regular Backup Schedule
Regardless of the backup method you use, it’s vital to establish a regular backup schedule. Set up automated backups to ensure your data is protected in case of system failure or data loss.
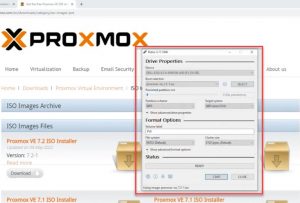
5. Store Backups on Reliable Media
After creating backups, it’s crucial to store them on reliable storage media. This could include external hard drives, cloud storage, or other devices. Ensure your backups are accessible when needed.
Conclusion
Creating backups on your Windows VPS is a crucial step in ensuring the safety of your information. Follow our advice and ensure your data is protected in unforeseen circumstances.