How to Back Up to a NAS?
Today we’ll tell you how to back up to a NAS. Whether you’re a regular home computer user or a network administrator, backing up your data is an essential part of keeping your information safe. A NAS (Network Attached Storage) provides an excellent way to store backups of your files.
Choosing a NAS
The first step to creating a backup to a NAS is choosing the device itself. Today, there are many manufacturers offering a wide selection of network storage devices — from inexpensive models for home use to more professional devices for businesses. When choosing a NAS, you need to consider the amount of data you plan to store, as well as your budget.
Connecting to the Network
After purchasing a NAS, you need to connect it to your home network. To do this, you will need access to the router and knowledge of the login and password to configure the device. After connecting the NAS to the network, make sure that all devices on the network have access to the new storage.
Configuring the NAS
After connecting to the network, you need to configure your NAS device. This includes creating users, setting access rights, configuring network shares, and more. Make sure you follow the manufacturer’s instructions and ensure data security.
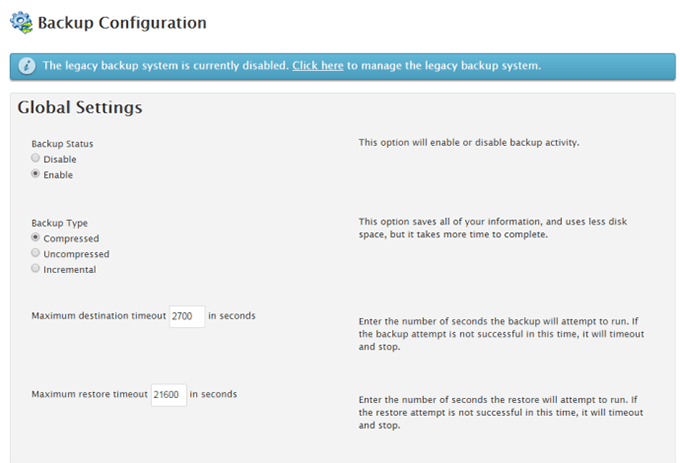
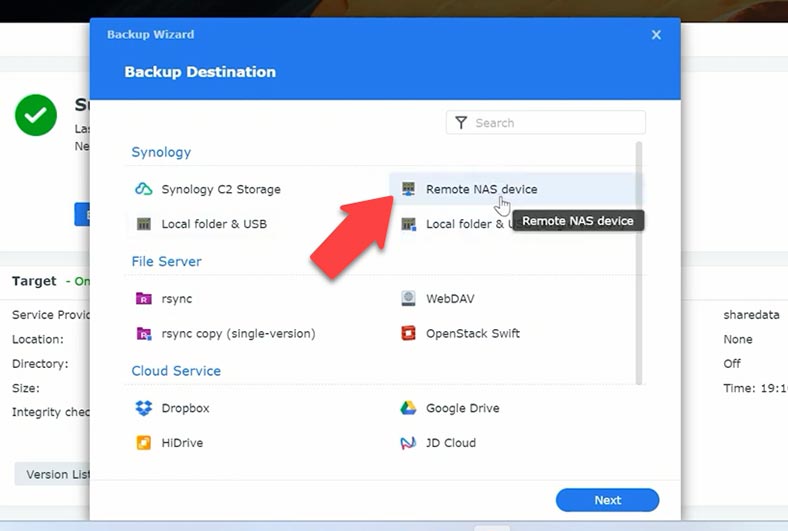
Choosing Backup Software
The last step is to choose software to create backups. There are many software solutions that allow you to automatically create backups on a NAS. Make sure that the program you choose is compatible with your device and has all the necessary features to ensure data security.
Conclusion
Now that you know how to back up to a NAS, don’t put this process off. Regularly creating backups will help you avoid data loss in the event of a failure or virus attack. Be responsible users and ensure the security of your information!