What is Google Authenticator and How to Set it Up?
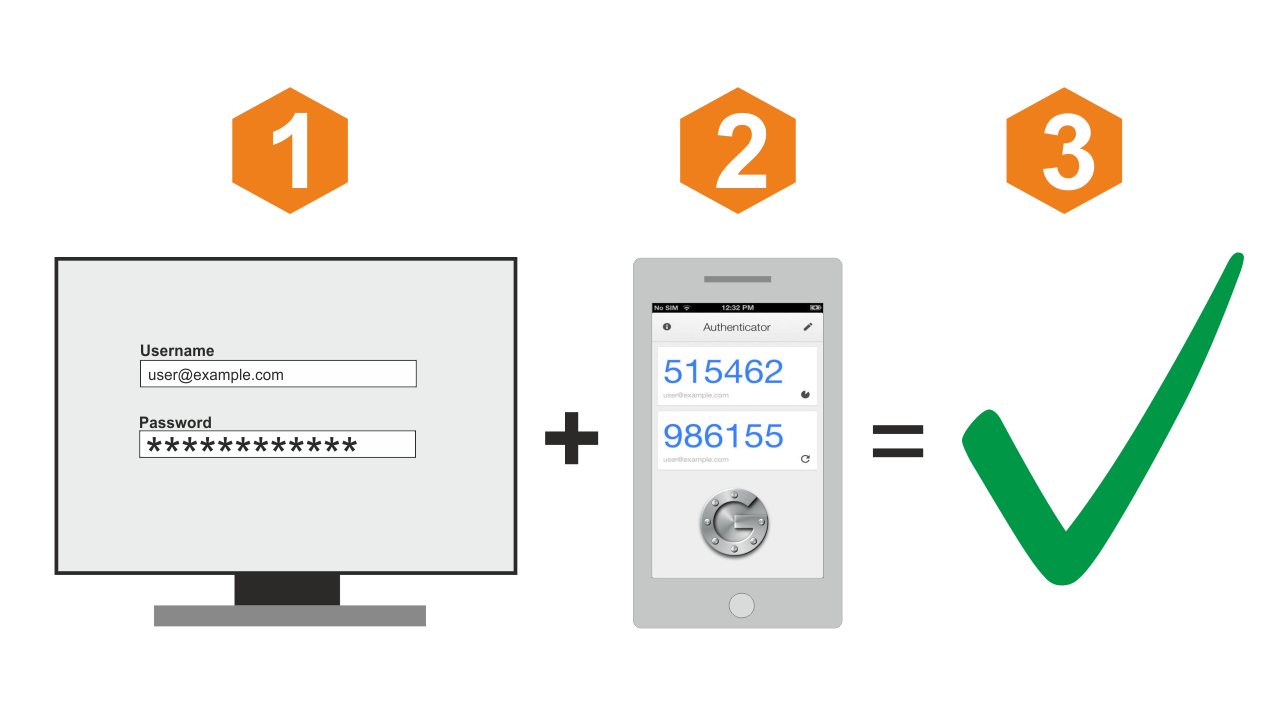
Google Authenticator is a mobile app that provides two-factor authentication for your Google account. This means that in addition to entering your usual username and password, you will also need to enter a special one-time code generated by the app.
To set up Google Authenticator, you’ll need to follow a few simple steps. Let’s take a look at how to do it.
Step 1: Install Google Authenticator on Your Device
The first step is to install the Google Authenticator app on your mobile device. You can download it from the official app stores: Google Play for Android devices and the App Store for iOS devices.
Step 2: Configure the Google Authenticator App
After installation, open the Google Authenticator app. In it, you will see an «Add account» button. Click on it, then select «Scan a barcode» or «Enter a provided key».
If you select «Scan a barcode», the app will ask you to allow access to your device’s camera. Then, the app scans the QR code that appears on the screen of the computer or device for which you are setting up two-factor authentication. If you select «Enter a provided key», you will need to manually enter the credentials provided by the service for which you are setting up authentication.
Step 3: Use the Generated Code
After adding an account to Google Authenticator, the app will generate a one-time six-digit code every 30 seconds. When logging into your Google account or other online service that supports two-factor authentication, you will need to enter the code displayed in the app at the time of login.
Thus, using Google Authenticator will increase the security of your accounts, making them more protected from unauthorized access. Use this simple but effective tool to protect your data online.