How to Ubuntu VPS: A Step-by-Step Guide" class="internal-post-link">Configure Fail2Ban on CentOS 6
Fail2Ban is a convenient tool for protecting your server from attacks and malicious activity. It allows you to automatically block IP addresses that have performed suspicious actions, such as frequent failed login attempts or requests to forbidden pages.
Let’s see how to configure Fail2Ban on CentOS 6:
1. Installing Fail2Ban
First, let’s install Fail2Ban:
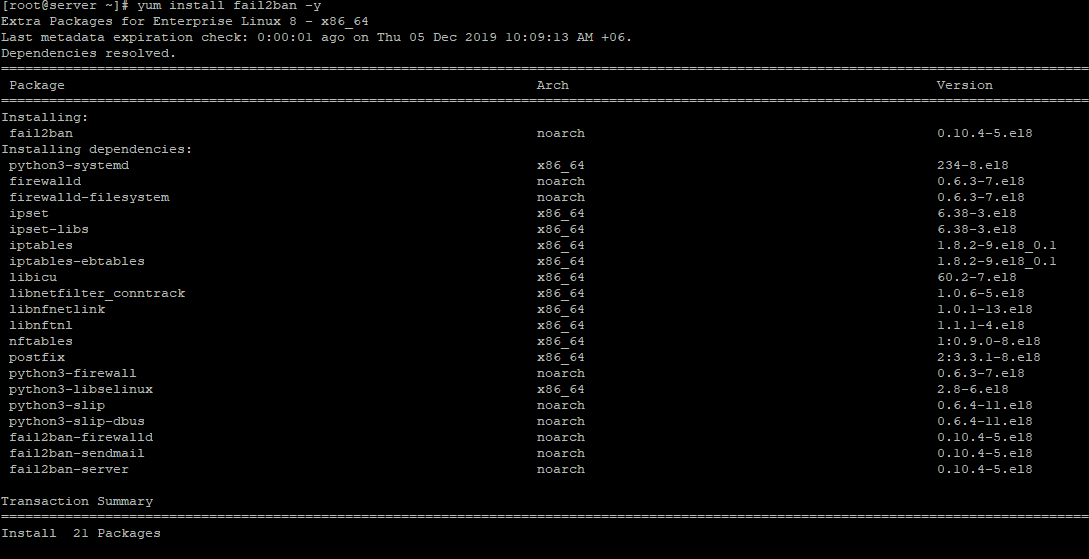
sudo yum install fail2ban
After installation, start Fail2Ban and add it to the startup:
sudo chkconfig --level 345 fail2ban on
2. Configuring Fail2Ban
Edit the Fail2Ban configuration file:
sudo nano /etc/fail2ban/jail.conf
Configure the ban rules and edit parameters as needed. Save the file after making changes.
3. Restarting Fail2Ban
After making changes to the configuration, you need to restart Fail2Ban:
sudo service fail2ban restart
Now Fail2Ban is configured and ready to protect your server from attacks. Regularly check the logs and settings to ensure the tool is working effectively.
With Fail2Ban, you can increase the security of your server and prevent many potential threats. Be vigilant and don’t forget to monitor your system’s security!


![How to Set Up Automated VDS Backups in [Platform/Location]](https://valebyte.com/blog/wp-content/uploads/2025/11/leonardo_3b4910a9-300x169.jpg)