How to Configure Backups on a Step-by-Step Guide" class="internal-post-link">Step-by-Step Guide" class="internal-post-link">cPanel VPS?
Backups are a crucial part of any web hosting project. They keep your data safe and allow you to restore it in case of any issues. Setting up backups on a cPanel VPS hosting is a straightforward process that takes only a few minutes.To configure backups on your cPanel VPS, you’ll need to follow a few steps. This article will guide you through the process.
Step 1: Logging into cPanel
The first step to setting up backups on your cPanel VPS is logging into the cPanel administrative panel. You’ll need your login credentials for this. Once logged in, locate the “Backup” section in the menu.
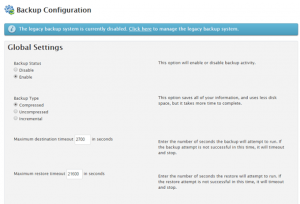
Step 2: Choosing Backup Options
After accessing the “Backup” section, you can choose your backup parameters. cPanel VPS typically offers several options for configuring backups, such as backup type, schedule, storage location, etc. Select the options that best suit your needs.
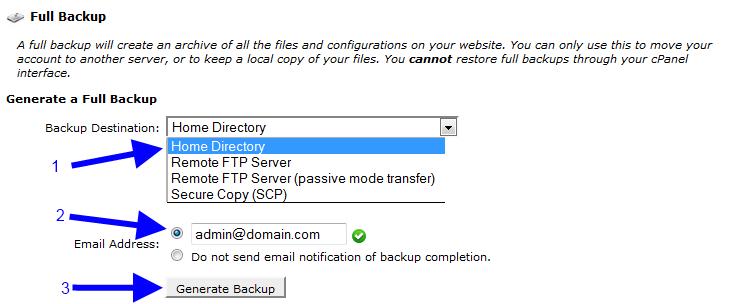
Step 3: Starting the Backup Process
Once you’ve selected all the necessary backup parameters, click the “Save” or “Start Backup” button to initiate the backup creation process. Depending on the size of your website, this process may take some time, so please be patient.
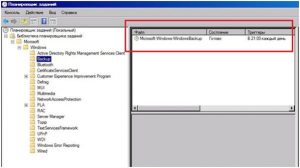
Step 4: Checking Backup Status
After the backup creation process is complete, you need to verify its status. cPanel VPS usually has a “Backup History” section where you can view information about recent backups. Ensure that your backup was successfully created and saved.
Setting up backups on your cPanel VPS doesn’t take long, but it ensures the safety and security of your data. Follow these instructions, and your website will be protected from any data loss issues.