How to Set Up Automatic Backups on a VPS?
Virtual Private Servers (VPS hosting) differ from regular hosting accounts in that you have full control over the server settings. One crucial aspect of VPS management is regular data backups. This article will guide you through setting up automatic backups on your VPS.1. Installing Necessary Software
The first step in setting up automatic backups on your VPS is installing the necessary software. Use the following command:
sudo apt-get install rsync
RSync is a powerful tool for synchronizing files and directories. It allows you to create exact copies of data and transfer files over a network.
2. Creating a Backup Script
Next, you need to create a script that will automate the data backup process on your VPS. Create a new file with a .sh extension and add the following code:
#!/bin/bash
rsync -av --delete /path/to/source /path/to/destination
Replace /path/to/source with the path to the directory you want to back up, and /path/to/destination with the path where the backup will be stored. After that, make the script executable using the command:
chmod +x script.sh
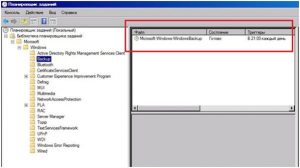
3. Setting Up a Scheduled Task
The final step is setting up a scheduled task. Execute the following command:
crontab -e
Add the following line to the crontab file to run the task daily at a specific time:
0 0 * * * /path/to/script.sh
Replace /path/to/script.sh with the full path to your backup script. Save the changes and close the editor.
Your VPS will now automatically create data backups every day. Check your settings and ensure the backup process is working correctly.


