How to Configure NAT for a Virtual Machine?
If you have a virtual machine that needs internet access, then configuring NAT (Network Address Translation) will be necessary. In this article, we will tell you how to properly configure NAT for your virtual machine.
Step 1: Open the Virtual Machine Settings
The first step is to open your virtual machine settings. To do this, launch the virtualization software where your virtual machine is located and find the network settings section.
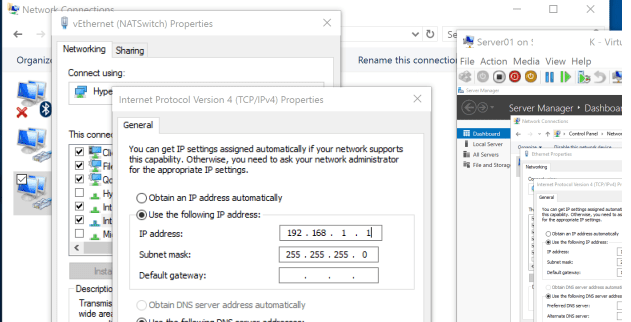
Step 2: Configure NAT for the Virtual Machine
In the network settings section, select the «NAT» option. This will allow your virtual machine to use a single servers with IP addresses for internet access, while hiding all internal IP addresses from the outside world.Step 3: Configure Port Forwarding Rules
In order for your virtual machine to properly communicate with external servers, you need to configure port forwarding rules. To do this, add a rule that will redirect incoming and outgoing requests through NAT.
Step 4: Verify the Connection
After you have configured NAT for your virtual machine, it is recommended to check the internet connection. Open a browser on your virtual machine and make sure that internet access is working correctly.
Conclusion
Configuring NAT for a virtual machine will allow you to provide internet access in a safe and efficient manner. By following our instructions, you will be able to properly configure NAT and use your virtual machine without problems.


